
Whether you’re canning part of a large garden harvest or there’s just a good sale on tomatoes or chicken, canning is a great way to preserve most food items. The idea of canning can seem daunting, but it’s actually a simple process for many foods! You can honestly grab a few items from Amazon or a local store and get started on some things today.
In this article, I will explain the different styles of caning and the items you need to use them all. I will also link to basic learning resources and to some of my recipes as examples of different canning styles, so you can see the differences in the work.
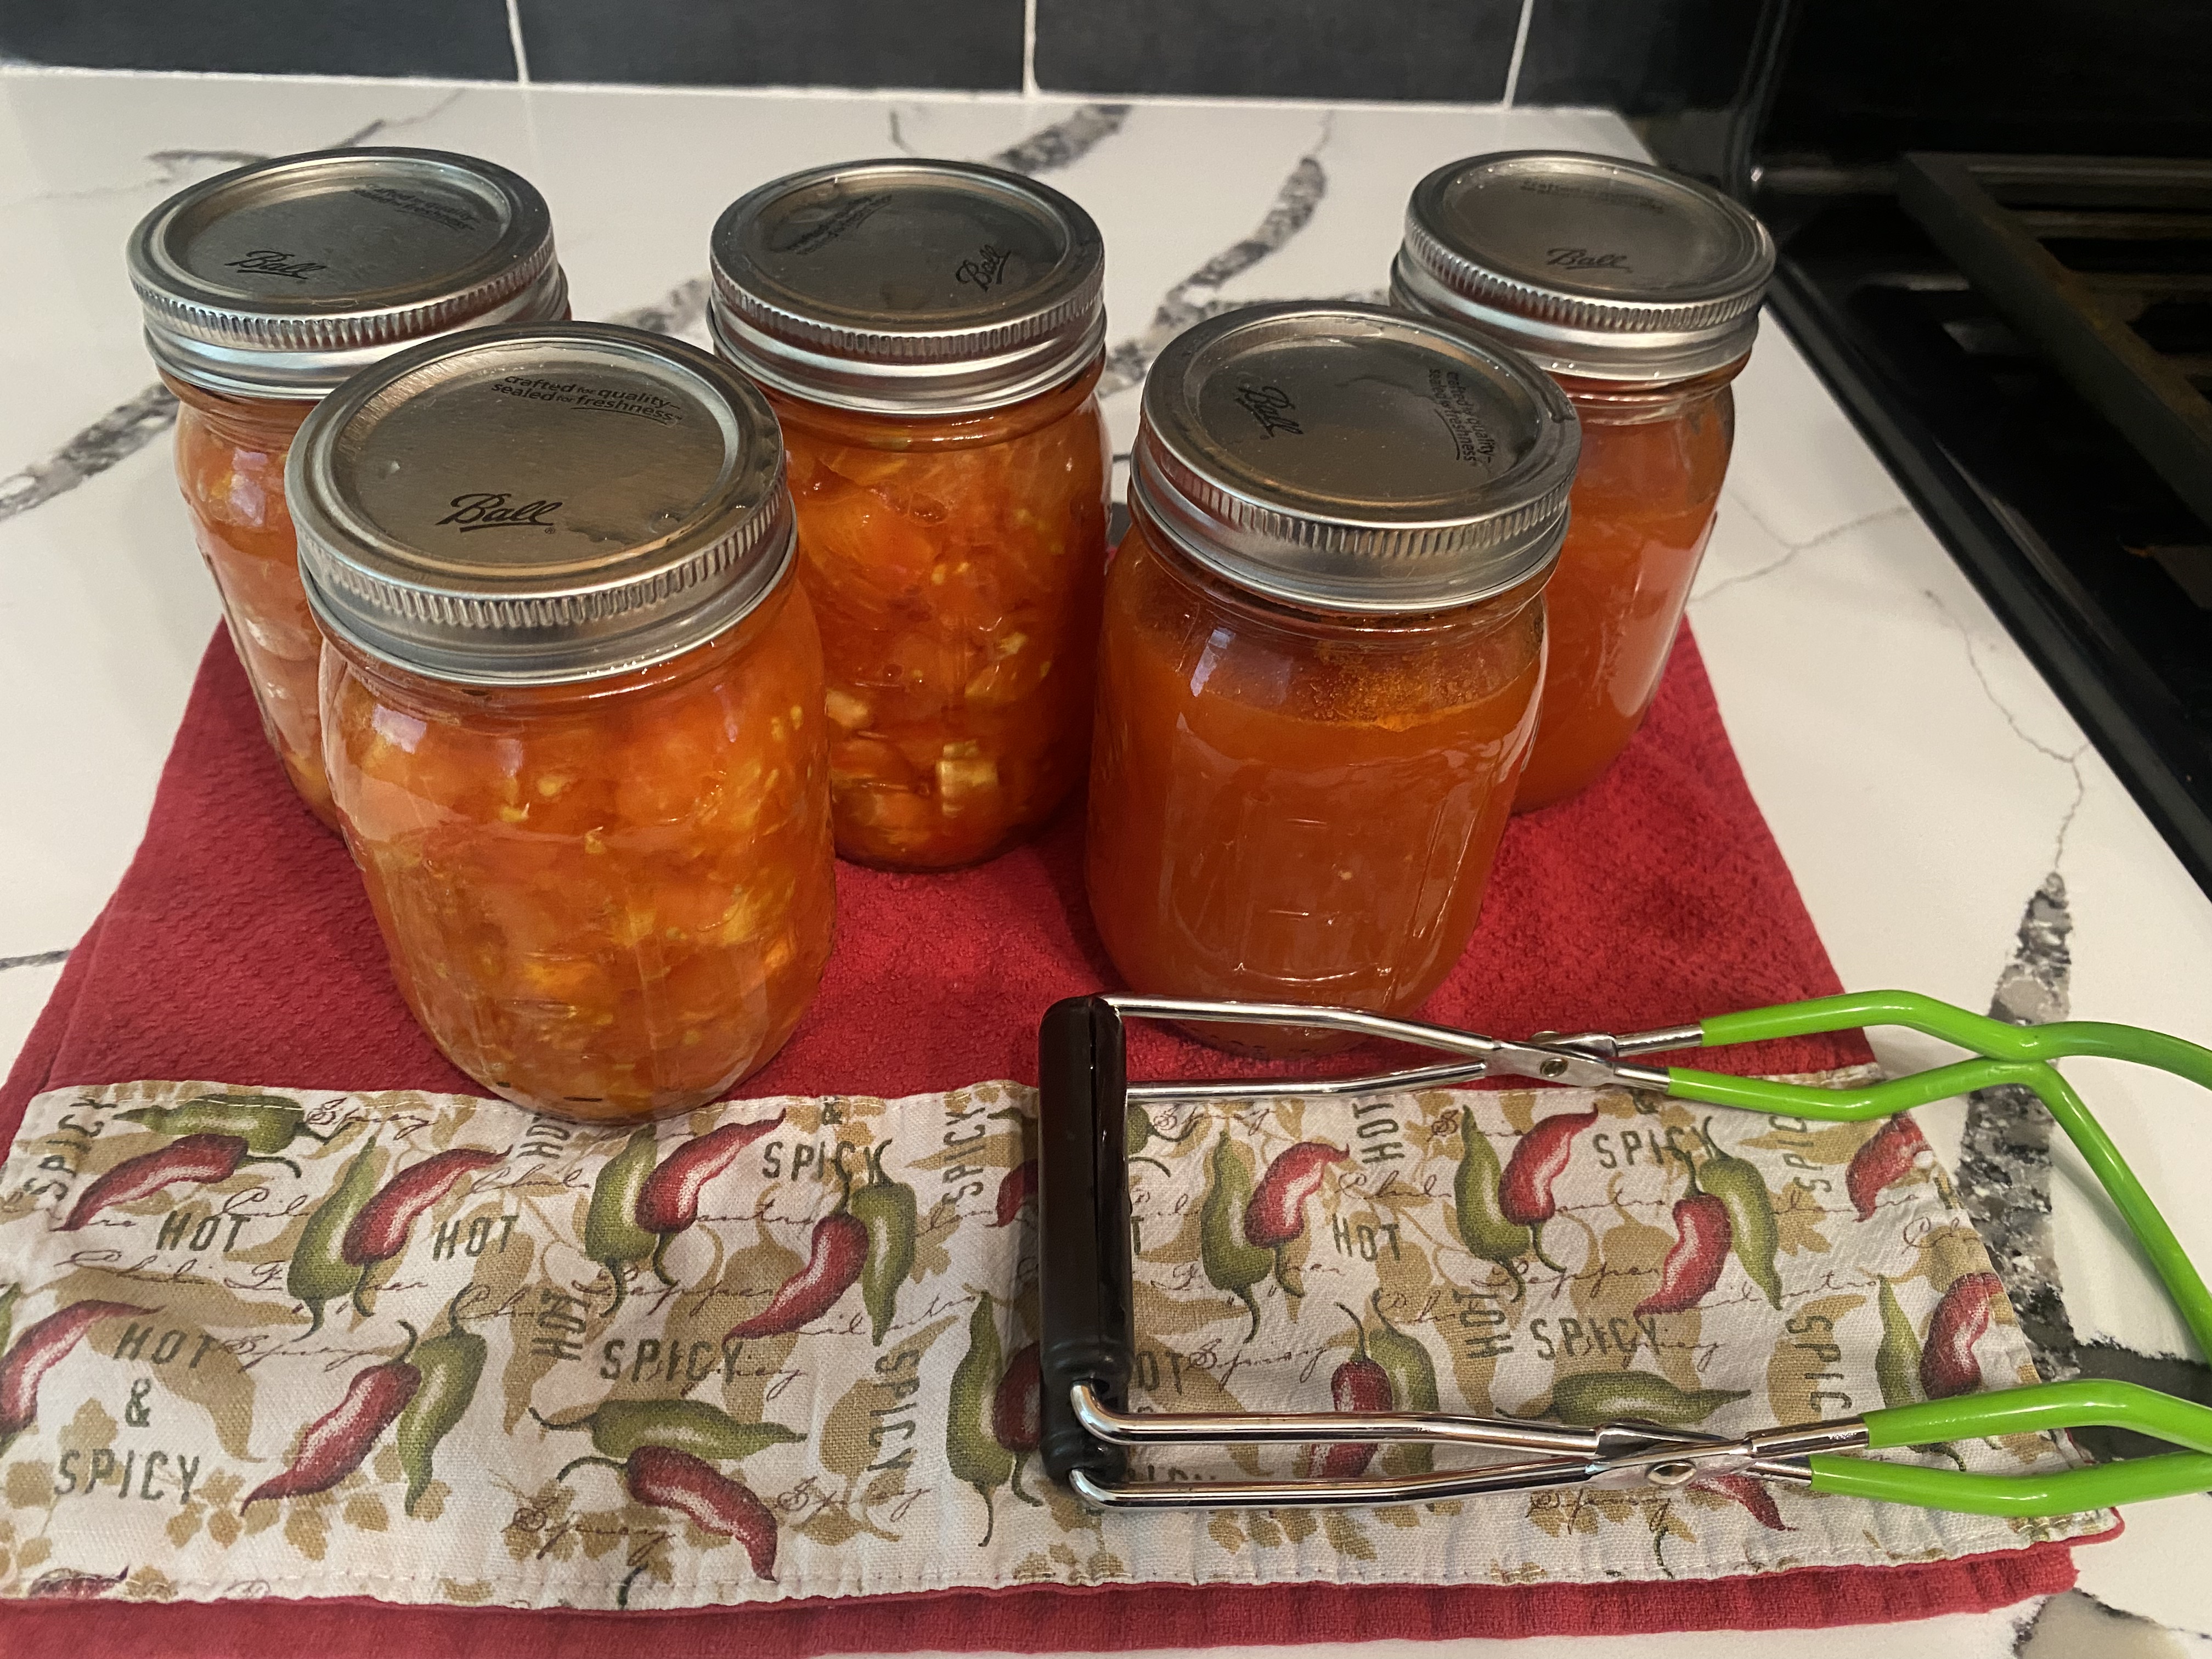
Why Bother Canning?
I hate throwing out food. It not only wastes my family’s time and money, but it also seems so pompous, given the food shortages in other parts of the world. It really is a first-world problem to say, “Oh no, I didn’t use my tomatoes in time,” and chuck them in the trash. It frustrates me to death.
However, canning and preserving these items address this issue. Whether you make quick-diced tomatoes because yours are getting a bit soft or you freeze spinach, try to keep items for later use before they go bad, and we have no choice but to get rid of them (sadness).
Canning and preserving are great ways to save some cash, and if you’re a gardener, you now have control over which canned goods are stored and used in your home.
What you need
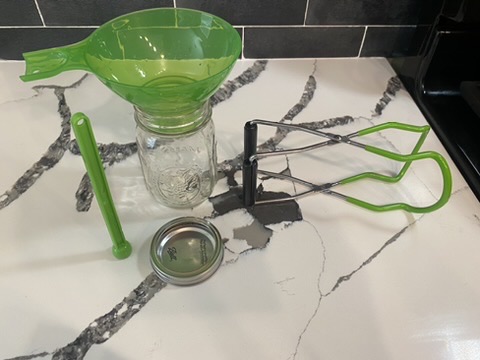
- Canning funnel. You can use any, but this one is designed to fit perfectly into the mouths of canning jars and has a wide top for ladling whatever you’re canning.
- Jars. These come in a variety of sizes. Pick a size appropriate for your individual uses. If you’re not sure, I suggest getting a few 16-oz and 24-oz. These are the sizes I find the most handy.
- Jar Lifter. This is super important! These jars are hot; even before you finish the process, you have to sterilize them and fill them with hot or warm food. You will use this throughout the entire process.
- Lid Magnet. This is for pulling sterilized lids from hot water.
- Labels. Nothing fancy is needed, and you can find cheap options at the dollar store.
- Pressure canner or a large pot for water bath canning.
Water Bath Basics
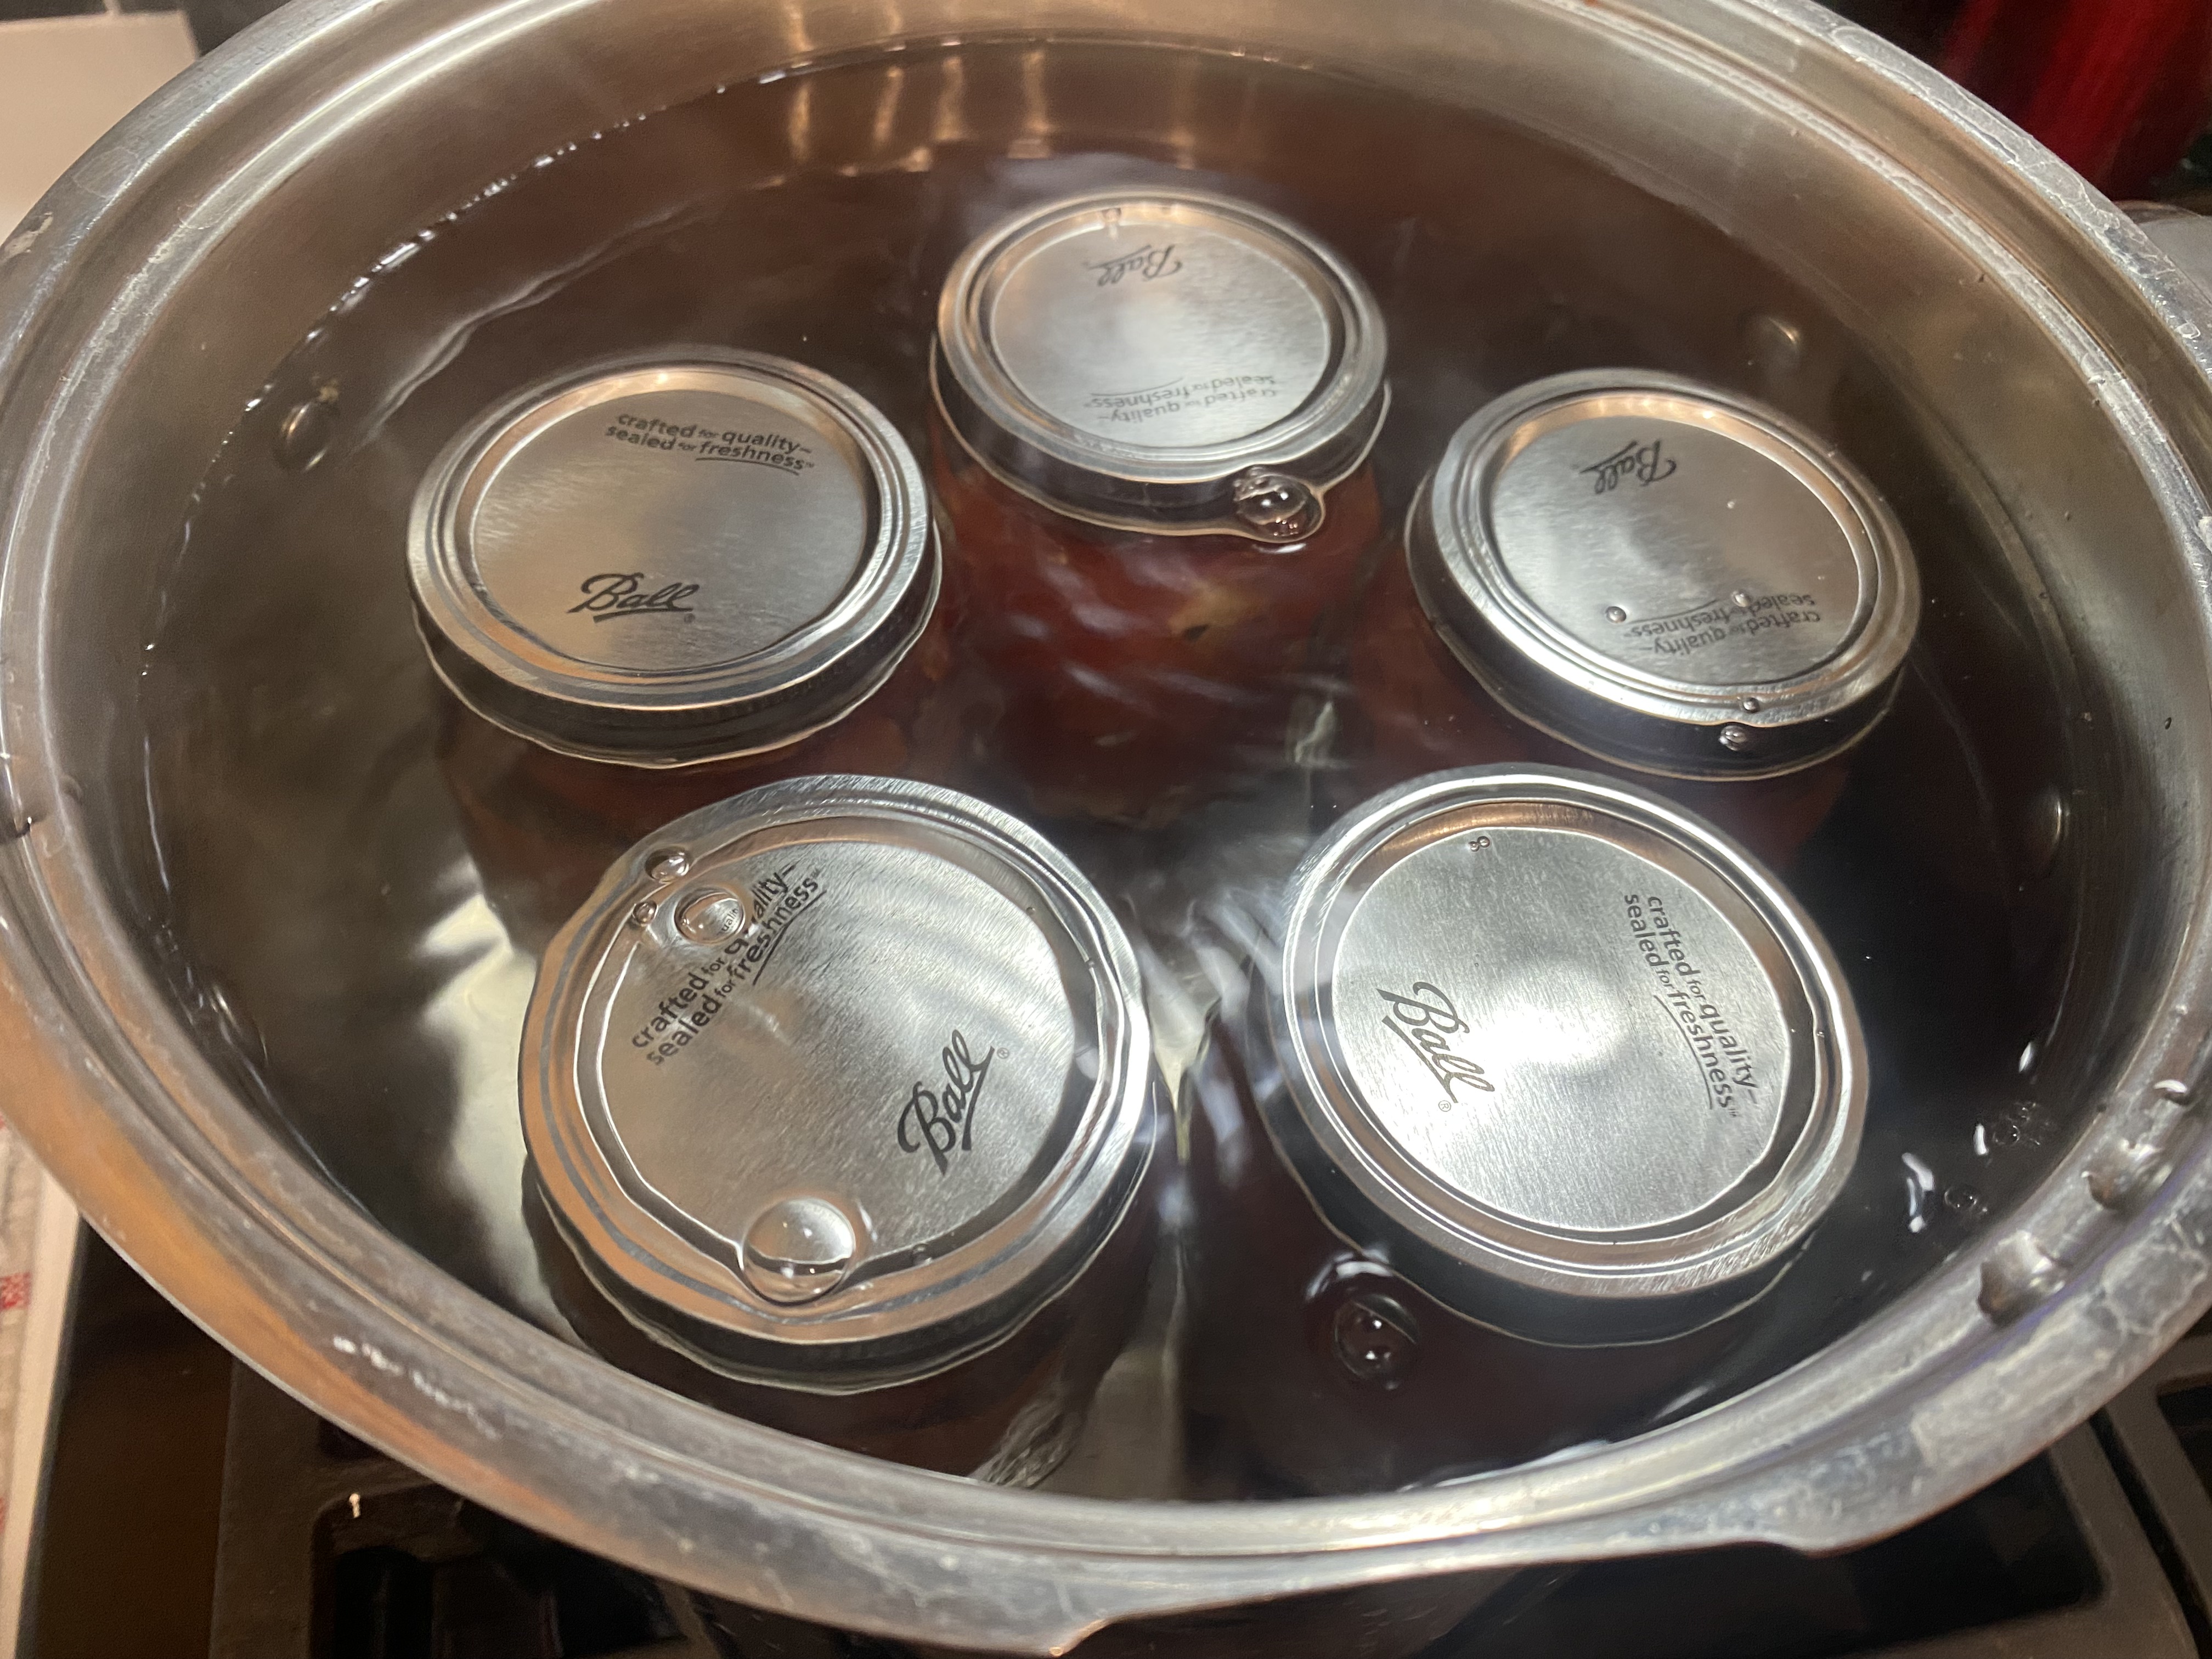
This is the easiest and most common form of canning. You only need a large pan and a canning starter kit. (See Links at the bottom of the article). You put the jars into a hot water bath and “process” for the proper amount of time.
The drawback is that many foods cannot be done this way. Tomatoes, apples, and veggies being pickled work great. However, meats and veggies not being pickled, etc., must be pressure-canned to kill the toxin that causes Botulism, a serious illness.
- Prepare your recipe according to a trusted, tested canning recipe.
- Wash and inspect your jars for chips or cracks. Keep the jars hot until you’re ready to fill them.
- Fill the jars with the prepared food, leaving the amount of headspace specified in your recipe (usually ¼ to ½ inch).
- Remove air bubbles using a bubble remover or plastic utensil, then adjust the headspace if needed.
- Wipe the jar rims with a clean, damp cloth to remove any food residue that could prevent a proper seal.
- Place the lids and bands on the jars. Tighten the bands until they are fingertip tight—snug, but not overly tight.
- Lower the jars into the canner using a jar lifter. Make sure the water covers the tops of the jars by 1–2 inches.
- Bring the water to a full rolling boil, then begin timing the processing only after the water is boiling vigorously.
- Process for the amount of time listed in your tested recipe, adjusting for altitude if necessary.
- Turn off the heat and let the jars sit in the canner for about 5 minutes before removing them. This helps reduce liquid loss.
- Remove the jars and place them on a towel or cooling rack. Leave them undisturbed for 12–24 hours while they cool and seal.
- Check the seals, remove the screw bands, label the jars, and store them in a cool, dark place.
Important: Water bath canning is only safe for high-acid foods, such as most fruits, jams, jellies, pickles, and properly acidified tomatoes. Low-acid foods require pressure canning.
Pressure Canning Basics
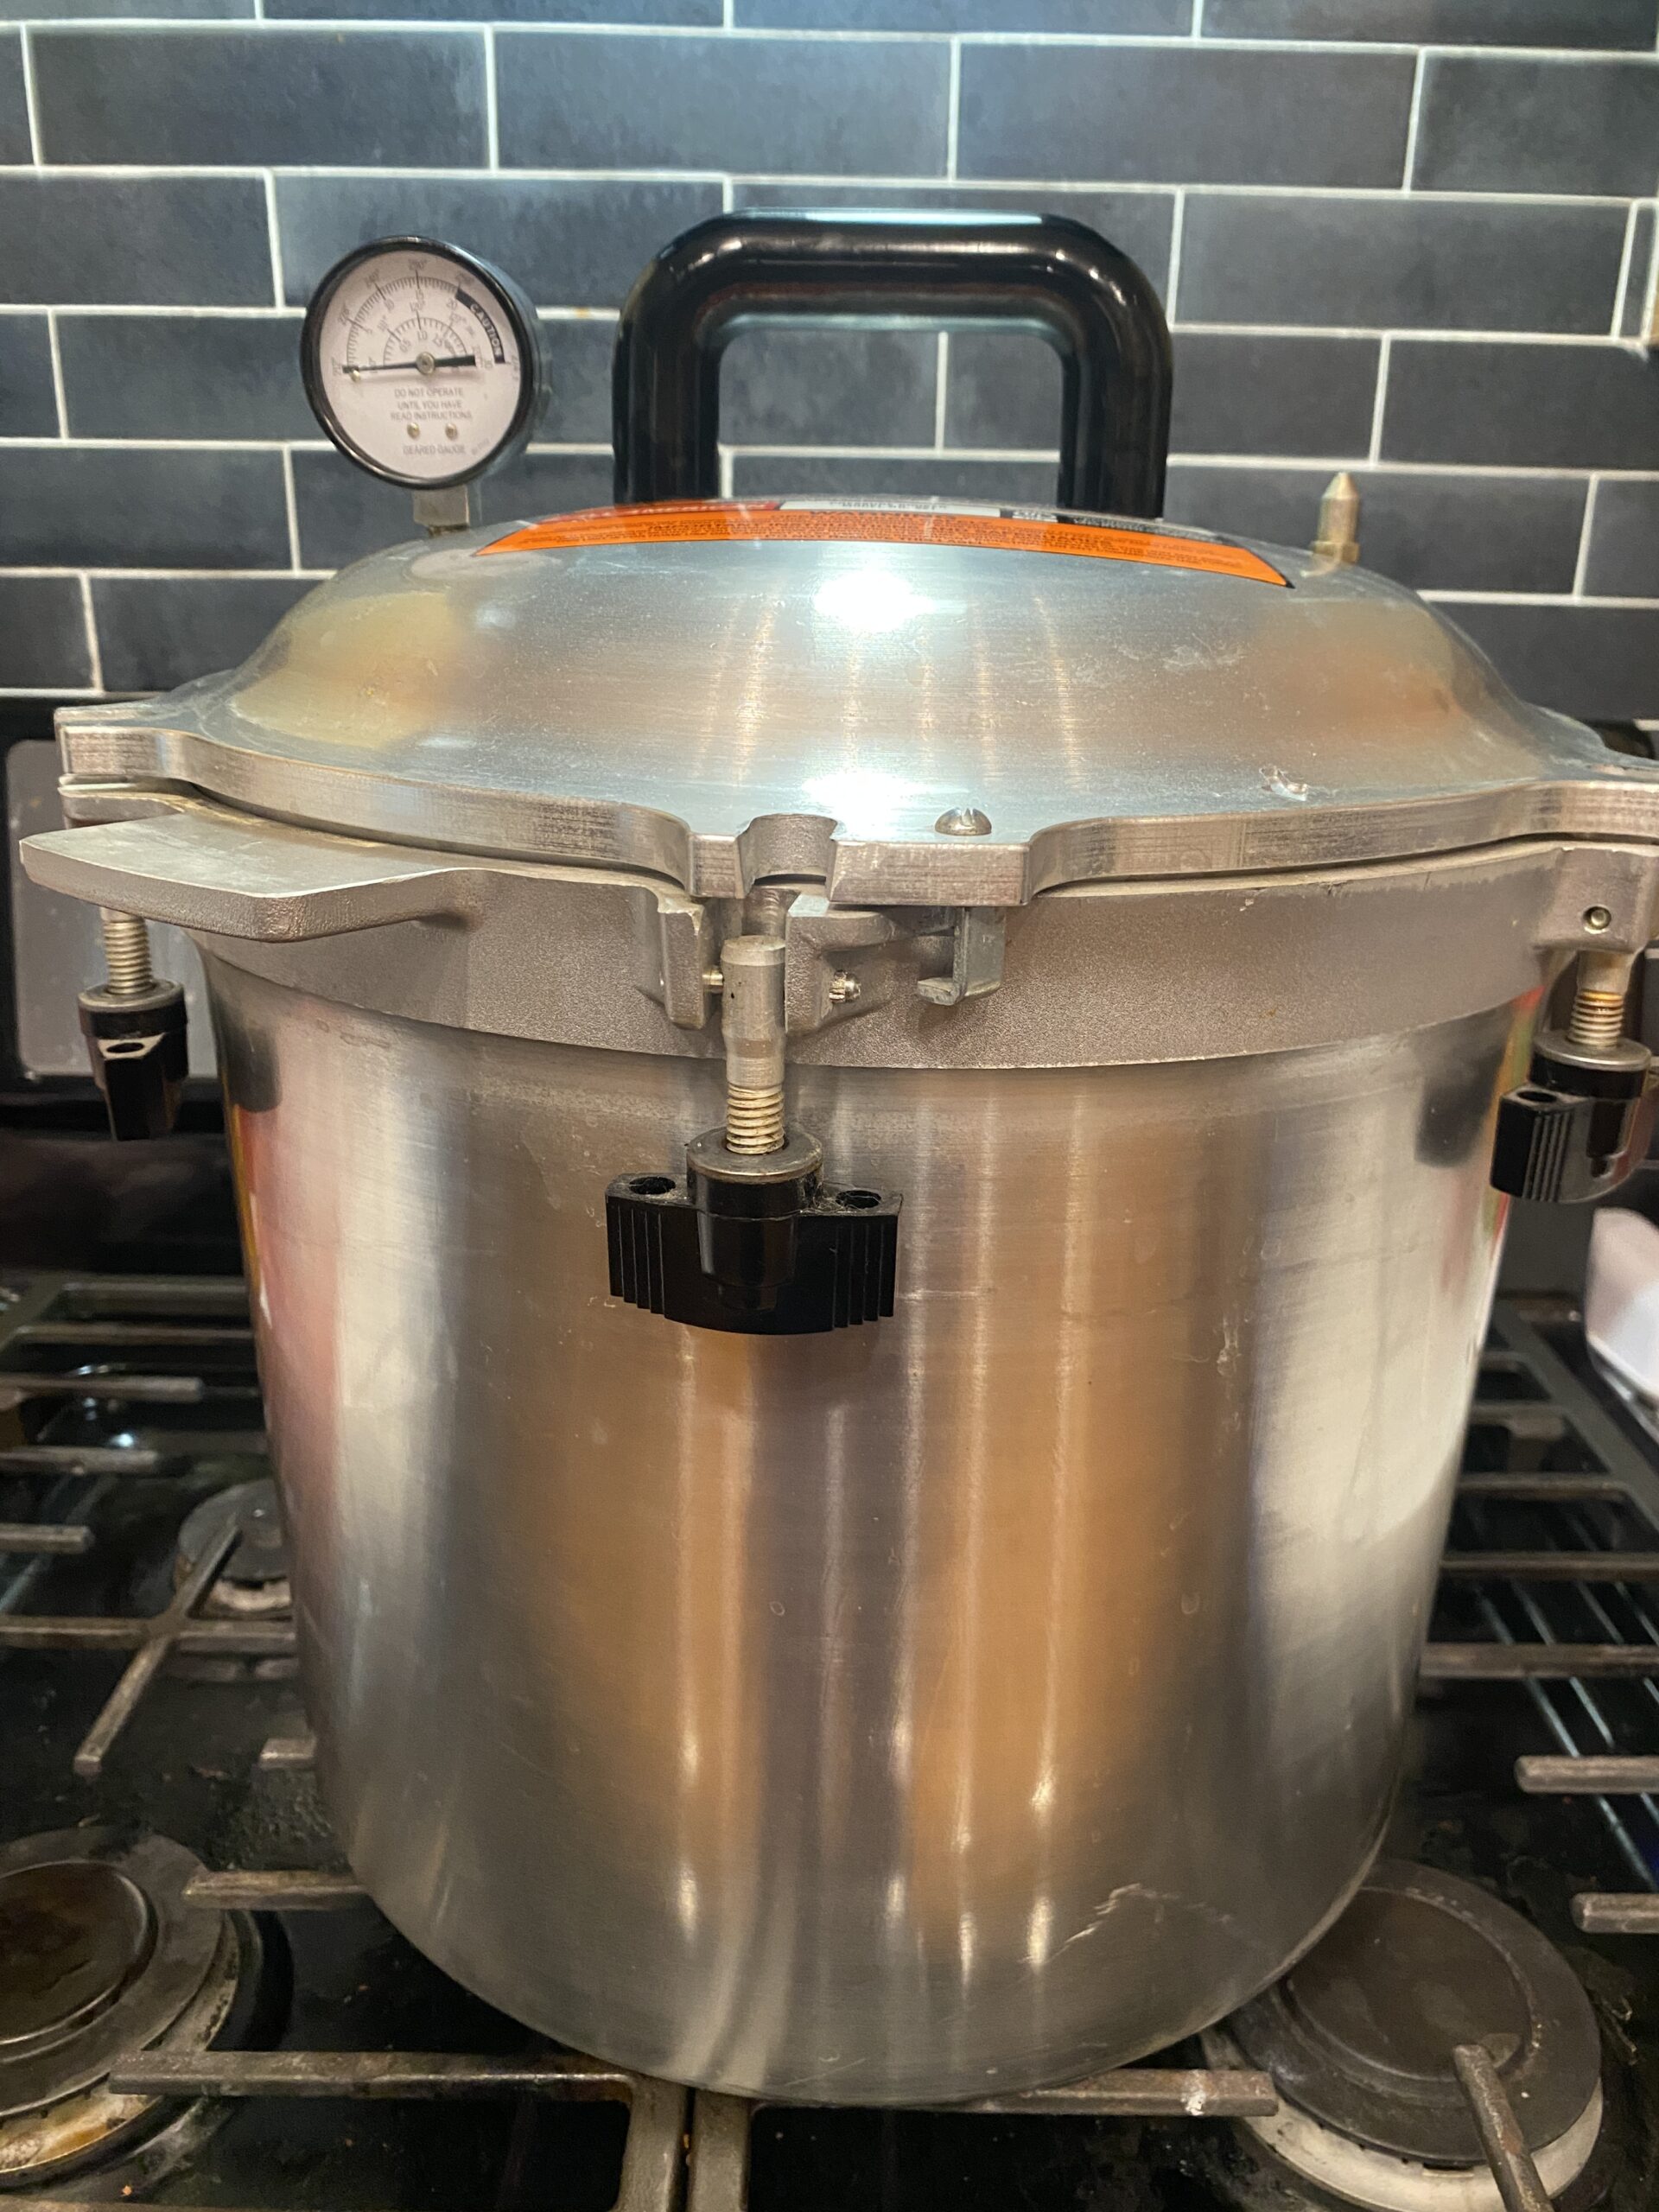
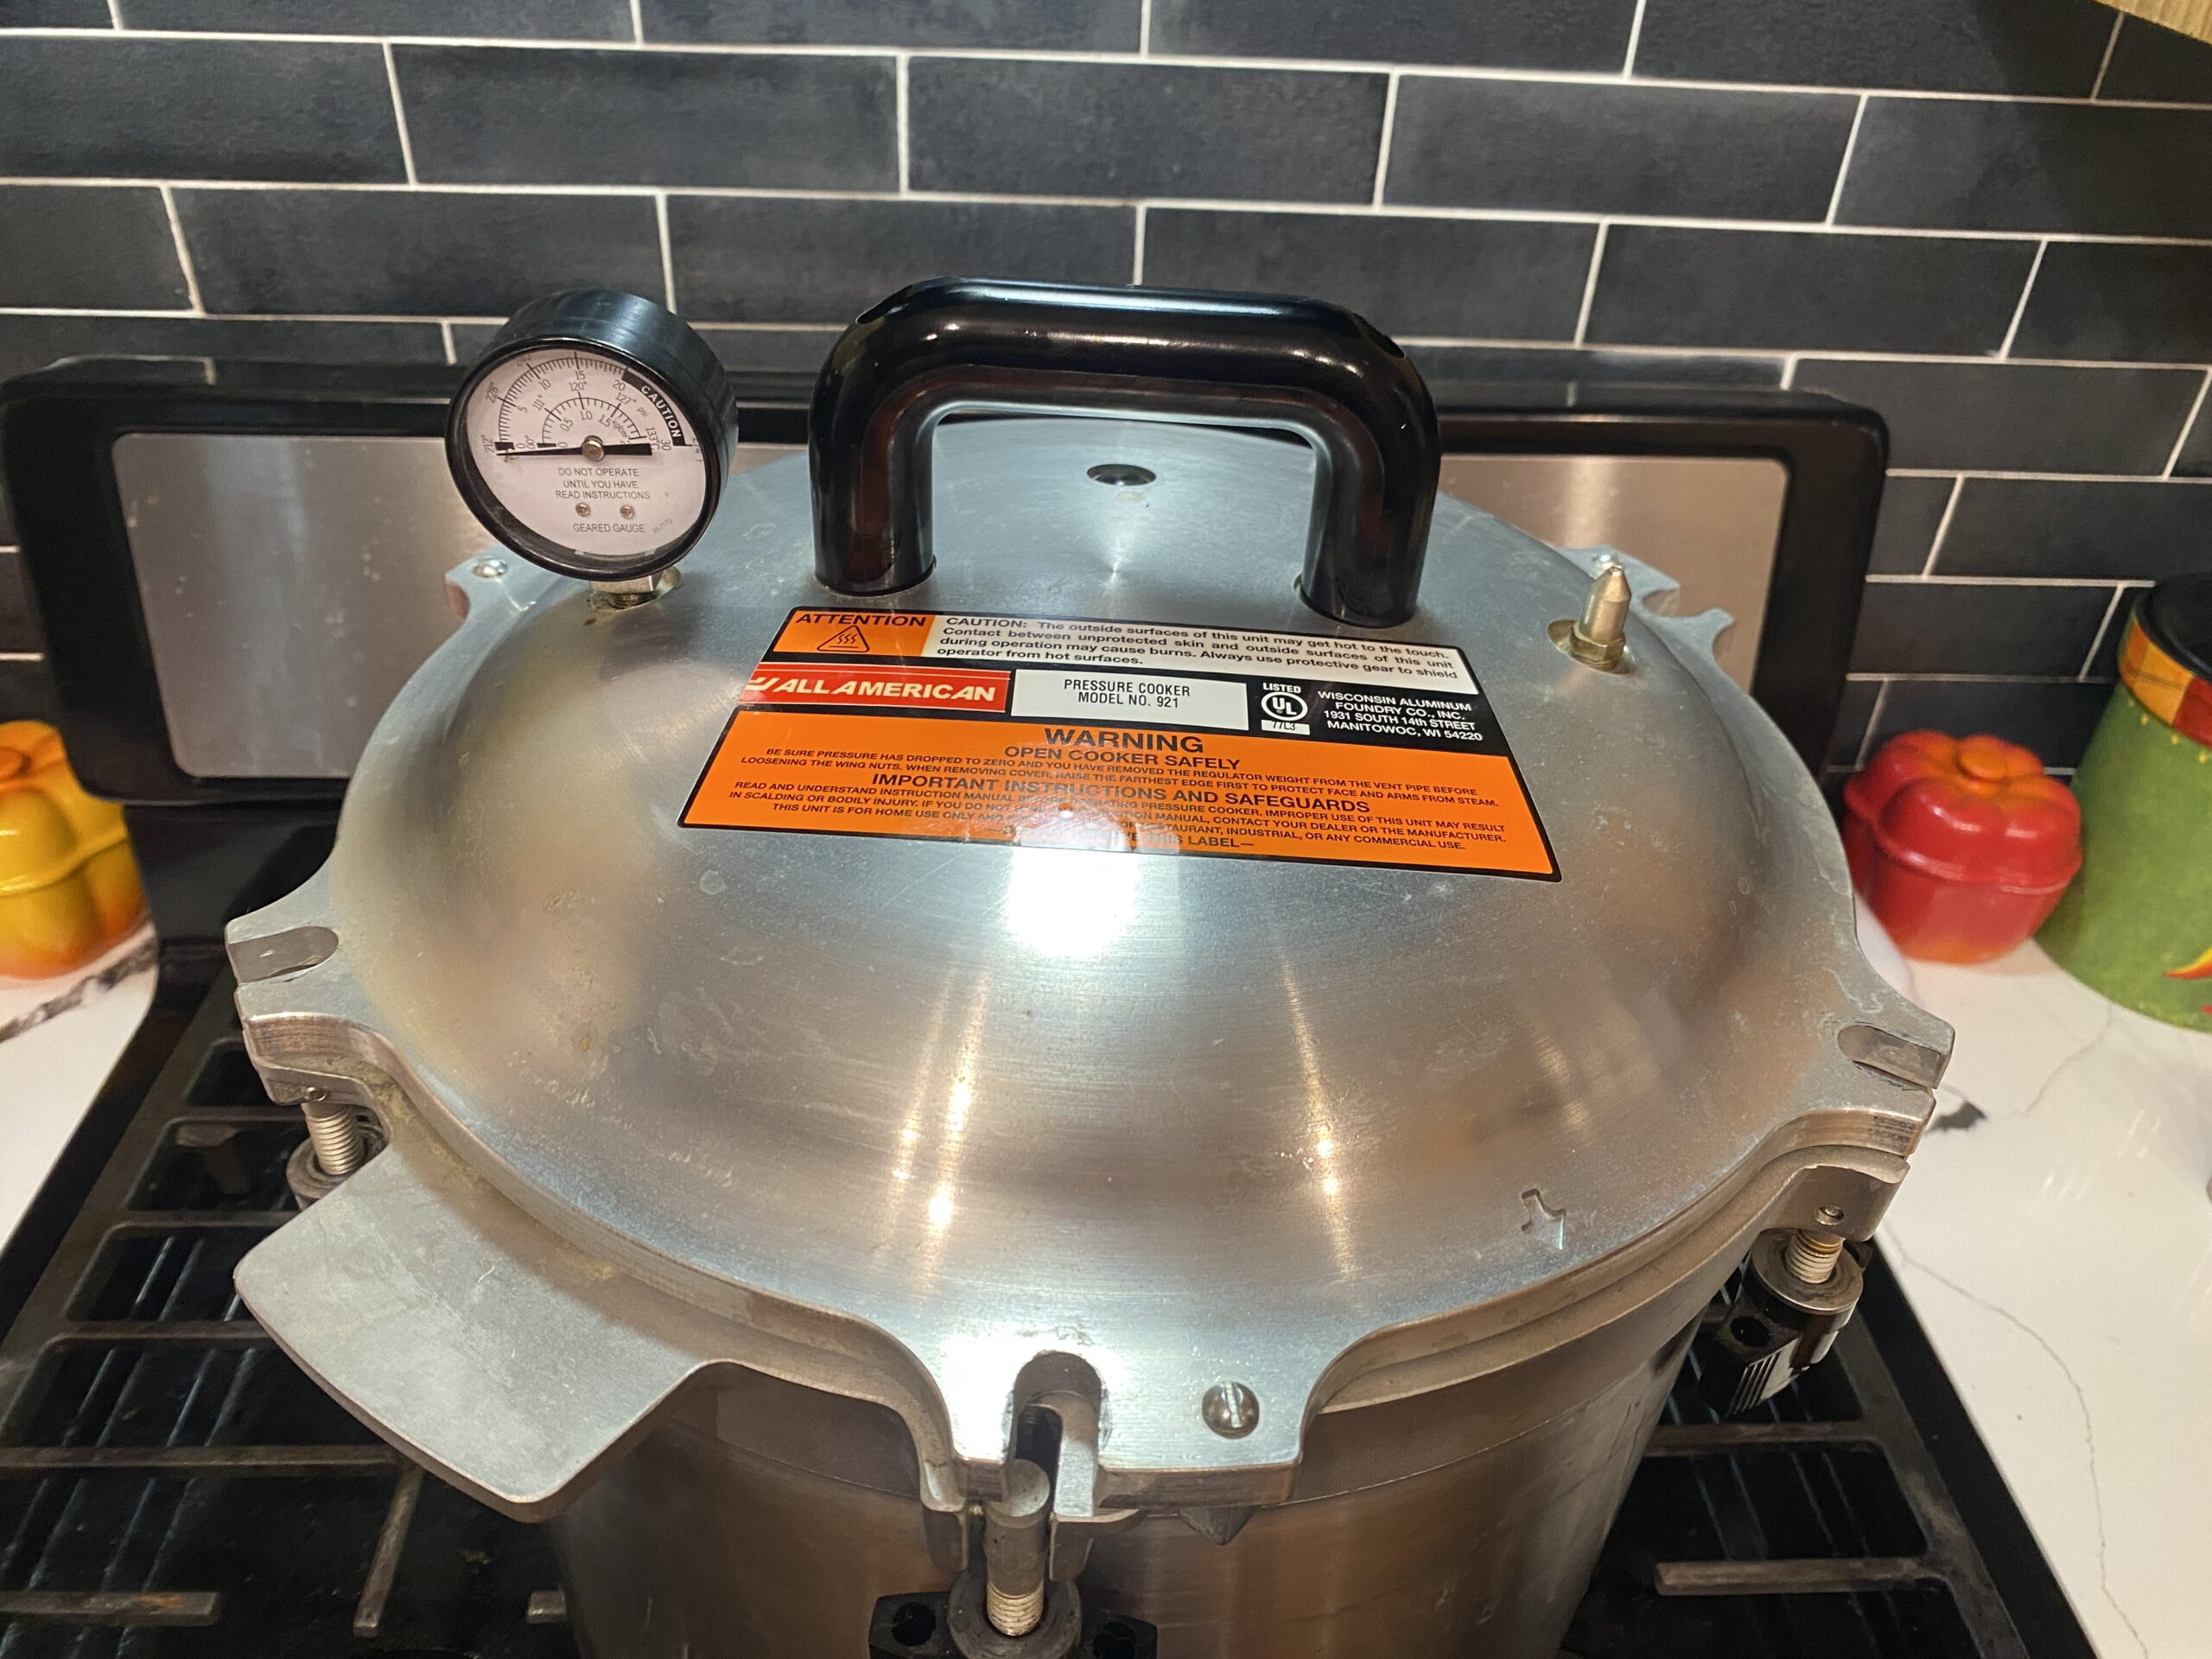
Pressure canning allows the food to reach a much higher temperature than boiling. This method is used for low-acid foods to kill toxins and bacteria that may be present. Pressure canning is used for meats, soup, stews, veggies, etc. I use this method every year after Thanksgiving to make turkey broth from the bones and the gross parts they put in the turkey’s belly.
This is easily the most expensive canning method due to the cost of the canner, but it still uses the same jars and other equipment. The better versions are as much as $450. While Amazon offers a few of the listed items at much lower prices, I cannot vouch for the brands. Pressure canning can be dangerous if there is an equipment malfunction, so do your research if you plan to purchase a lower-cost unit.
1. Fill jars, leaving a small amount of space at the top
2. Wipe the jar mouth and place the lids on hand-tight.
3. Place in a large pot of hot water and put 1-3 inches of water (follow manufacturer’s instructions). Tip: You can stack jars up to 2 layers.
4. Process for an appropriate amount using the correct pressure gauge. Typically, this is 90 minutes with 10-15 lbs. of pressure.
5. Let pressure release and vent before attempting to remove the lid.
6. Remove jars and let cool.
7. Clean the canner. Some people assume that since the food isn’t going directly into the canner, no need to wash it. You’ll notice that it smells like whatever you have canned. Be sure to wash it out along with the weight, and allow them to dry properly before packing everything away.
Dry Canning
Dry canning can be used for, well, dry goods. Many people use this method after harvesting dry beans, such as black beans. Or they will buy oats and grains in bulk from a vendor and dry them in small batches to keep them fresh. They can store the raw or uncooked foods for years until they are ready for a new jar full!
This last method is a bit controversial. Many “experts” say that this method doesn’t kill harmful toxins and bacteria. However, you will be cooking the foods that are being dried, just as you would if you ate them straight from the garden, so I’m unsure what the issue is.
I honestly don’t use dry canning as of this writing. The only thing I would need it for is black beans, and I can put them into airtight bags and keep them suitable for a year. They keep pretty well.
Here are the basic instructions for the dry canning process.
- Preheat your oven to 225 degrees.
- Place clean, empty jars on a baking sheet and bake for at least 20 minutes to sterilize and remove any lingering moisture.
3. Carefully remove and fill jars, leaving at least 1” of space.
4. Put the jars back into the oven without the lids for 15 – 30 mins, depending on what you are canning. Flour, for instance, will take longer to heat through than beans.
5. During the above processing, place the lids into the oven for 15 minutes to sterilize and get rid of their moisture.
6. Remove jars, wipe lids of debris, and place lids on them with rings.
7. As the jars cool, the lids will seal, but you are, of course, welcome to put them back into the oven for another 10 minutes or so while the lids are secured.
Safety Alert: Let Jars Cool Undisturbed
Once your jars come out of the canner, place them on a towel, cooling rack, or wooden cutting board to protect them from a sudden temperature change. Leave a little space between each jar and let them cool completely without moving, tilting, tightening the rings, or testing the lids.
Jars need time to form a proper vacuum seal as they cool. Moving them too soon can interfere with the sealing process, and if a lid loosens or releases while the contents are still extremely hot, it can cause painful burns.
This is especially important after pressure canning, where both the jars and food remain much hotter for longer than they do with water bath canning.
For the best seal and safest results, let your jars sit undisturbed for 12 to 24 hours before checking the seals, removing the rings, or storing them.
Canning Gets Easier Every Time
Learning how to can food may seem overwhelming at first, but like any new skill, it becomes much easier with practice. Start with one simple recipe, follow a trusted canning guide, and don’t worry about becoming an expert overnight. Every batch teaches you something new, and before long, you’ll be confidently filling your pantry with home-preserved food.
Whether you’re preserving tomatoes from your backyard, stocking up on homemade broth, or simply taking advantage of a great sale at the grocery store, canning is a practical skill that saves money, reduces food waste, and lets you enjoy your favorite foods long after harvest season has ended.
Remember, every experienced canner was once staring at a pile of jars, wondering, “Am I doing this right?” We’ve all been there. Take it one recipe at a time, follow safe canning practices, and enjoy the satisfaction of hearing those wonderful little “pop!” sounds as your jars seal.
Happy canning!
📖 Related Articles
Canning Tomatoes
Ready to put what you’ve learned into practice? Canning tomatoes is one of the most common examples of water bath canning and a great project for beginners. Follow this step-by-step guide to see the entire process from start to finish.
Canning Stocks & Broths
Unlike tomatoes, broths and stocks are low-acid foods that must be pressure canned for safe home preservation. If you’re ready to see the pressure canning process step by step, this guide is the perfect next lesson after learning the basics of canning.
🛠️ Product Links
This page contains affiliate links. If you purchase through one of these links, we may earn a small commission at no extra cost to you.
Thank you for helping support Small Scale Homestead!
Pressure Canner
The All-American is the pressure canner I use. It came highly recommended to me years ago, and I’ve never regretted the investment. It’s built like a tank, designed to last for decades, and is a favorite among experienced home canners.
Canning Kit with the large stock pot
Starting from scratch? A complete water bath canning kit includes the canner, rack, and many of the basic tools you’ll need to begin preserving safely. It’s a simple way to get everything you need in one purchase.
Canning Kit without a Pot
If you already own a large stockpot, you may not need to buy a complete water bath canning kit. A basic canning toolkit can save you money while providing the essentials you need to get started.
Leave a Reply