
Canning your own stocks & broths is an excellent way not only to save some cash but also to control what you consume at home. Even organic brands have unnecessary sodium and preservatives. You’re likely throwing away meat and vegetable scraps weekly that can be saved and made into stocks. Or maybe you cook chicken in large batches for meal prepping and have broth to spare.
Whatever the reason or source of the overage, congrats! Grabbing a jar of homemade stock from your pantry is a super cool feeling. But Beware! You may become addicted to it and end up like me, saving every scrap from your kitchen to make whatever stocks you can, just because you can.
What you need
- Pressure Canner with lid and rack(s). This is essential, as it brings the jars to much higher temperatures, killing toxins that can cause serious health issues, such as Botulism. These things may be present in low-acid foods.
- Large pot to sterilize lids and jars
- Jars in whatever size(s) you would like. A variety is always fantastic for different uses and dishes.
- Canning tools such as tongs, funnels, lids, and magnets.
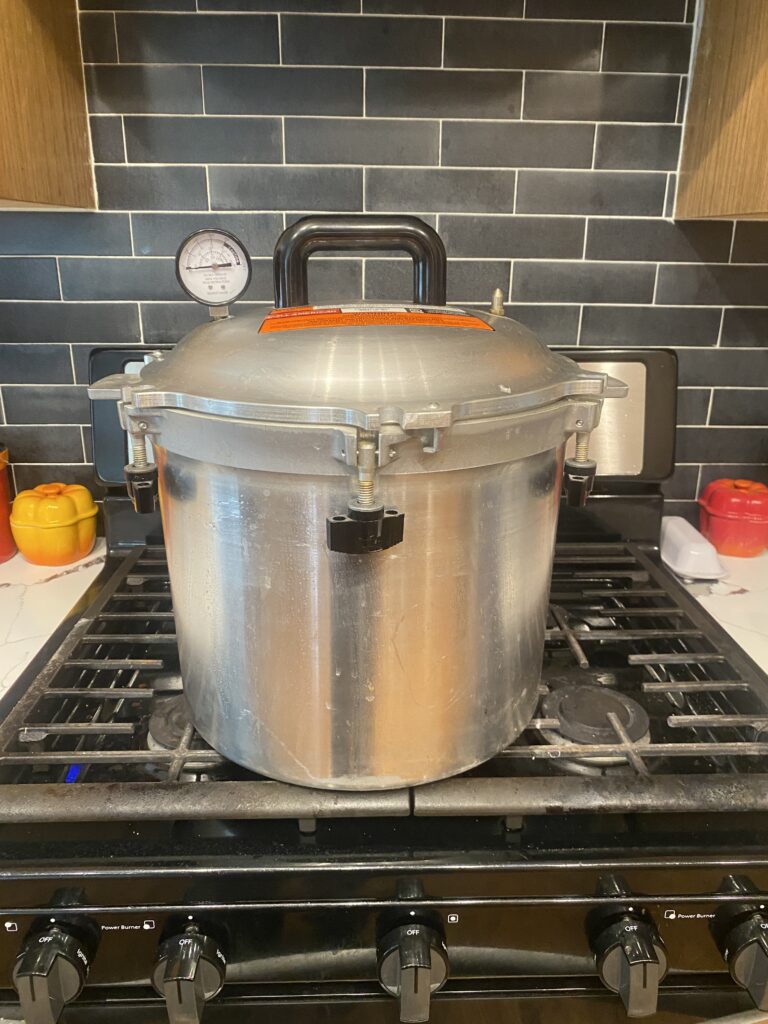
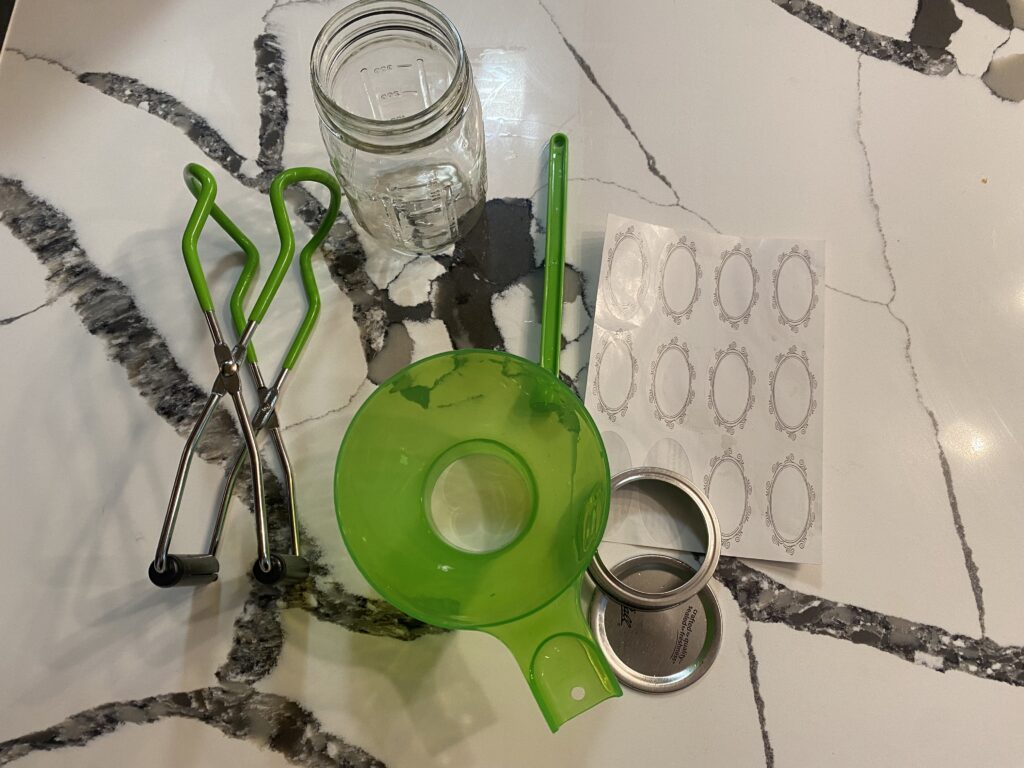
*At the bottom of this article are links to view and purchase some of the items listed above.
Is Pressure canning necessary?
Yes. Any foods with a lower acid content must be pressure canned. Unfortunately, this is most items. Pressure canners can reach much higher temperatures than boiling water alone. This gives them the ability to kill toxins that can be in the food, such as the one that causes botulism, a severe infection that attacks the nervous system.
Getting Started
If you are working with homemade meat stock or broth, it is always best to can after removing fat from the top. The easiest way is to refrigerate for a few hours or overnight. Once it’s cold, the fat will be solid and sitting at the very top, where you can scoop it out.
This isn’t actually necessary, just recommended.
Now, heat back up as you always can with warm liquids. This helps prevent jars from breaking and ensures the canning process doesn’t waste time just heating the jar contents.
Pressure Canning Broth & Stocks
Here is the simple step-by-step process for pressure canning broths and stocks. Remember that no matter what type of stock you are working with, the basic process is the same, which makes it super easy to get the hang of!
Heat Broth & Water
Start by putting the jars and lids in boiling water for 10 minutes. It may be necessary to do these in batches, depending on the number of jars and the size of the pot you’re using. I recommend a canning pot due to its large size.
Heat the broth while you wait for the jars. Remember that we always want to work with hot, warm liquids when canning.
Heat water in the Pressure Canner. How much depends on the manufacturer’s instructions, but it’s typically about 3 inches. I know it seems low! Especially if you have been canning via water bath for a while, where you have to cover the jars completely. Remember that the canner creates a pressurized environment that will process the entire pot as long as it has the proper water level and is properly sealed.
Fill hot jars
Now use the tongs to remove the hot jars from the pot. Best to place them on a towel to prevent sudden temperature changes.
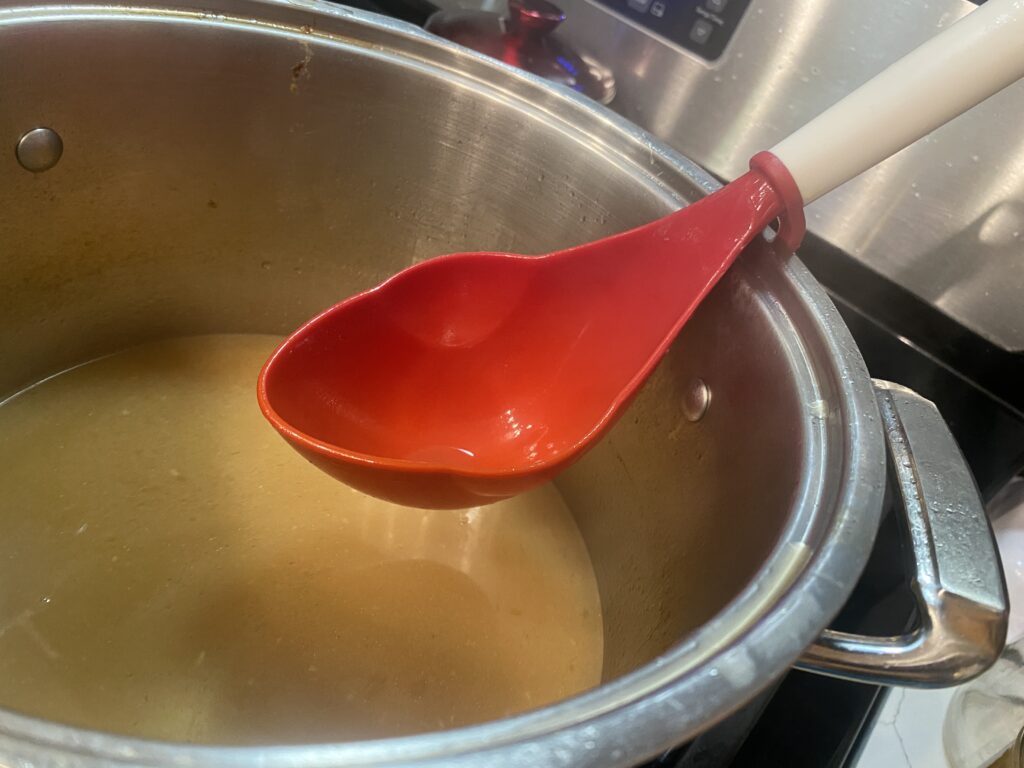
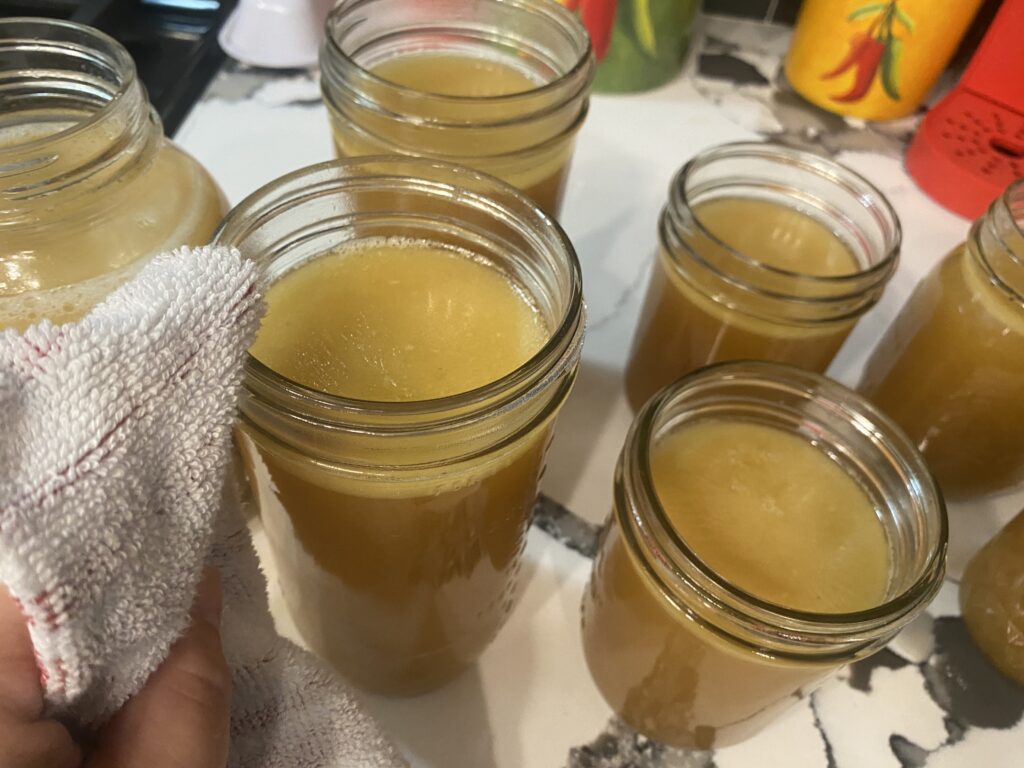
Use the canning funnel and a large ladle to fill your jars. Be careful not to get burned by the hot liquid and jars! Leave about 1 inch of “headspace” at the top. If you are using small jars in your little variety pack, 1/2 to 3/4 of an inch space should be fine.
Wipe the rims with a clean rag or paper towel to remove all residue. Add a splash of vinegar to help remove everything. We need a clean surface for the lids to seal to.
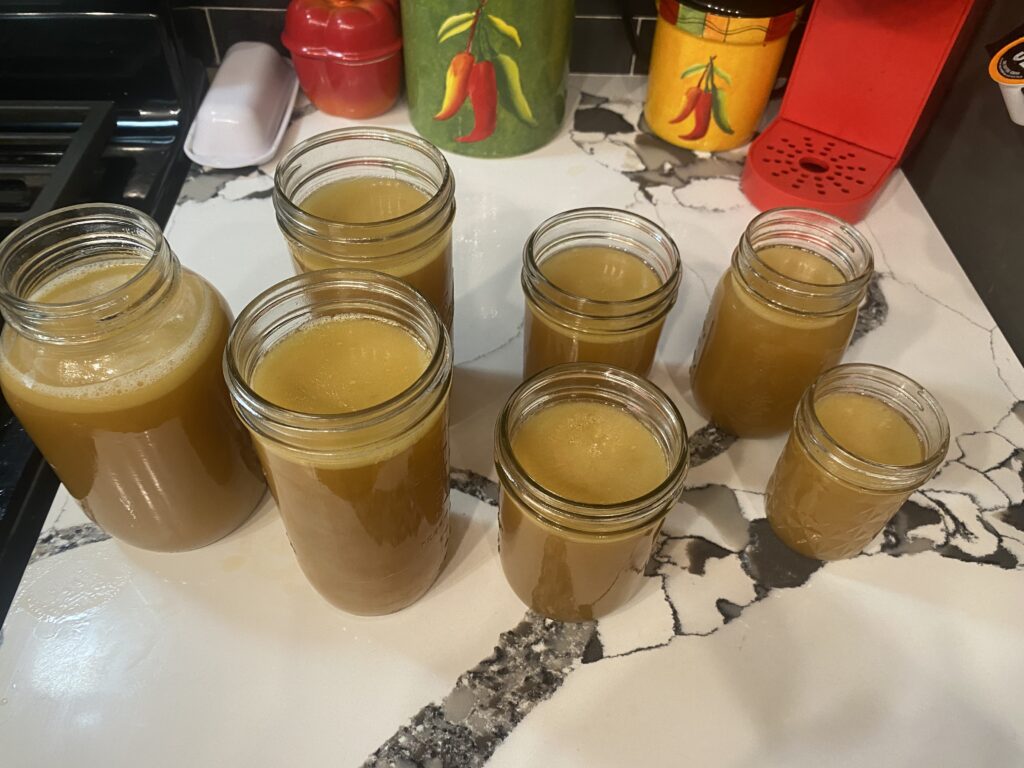
Place Lids & Rings
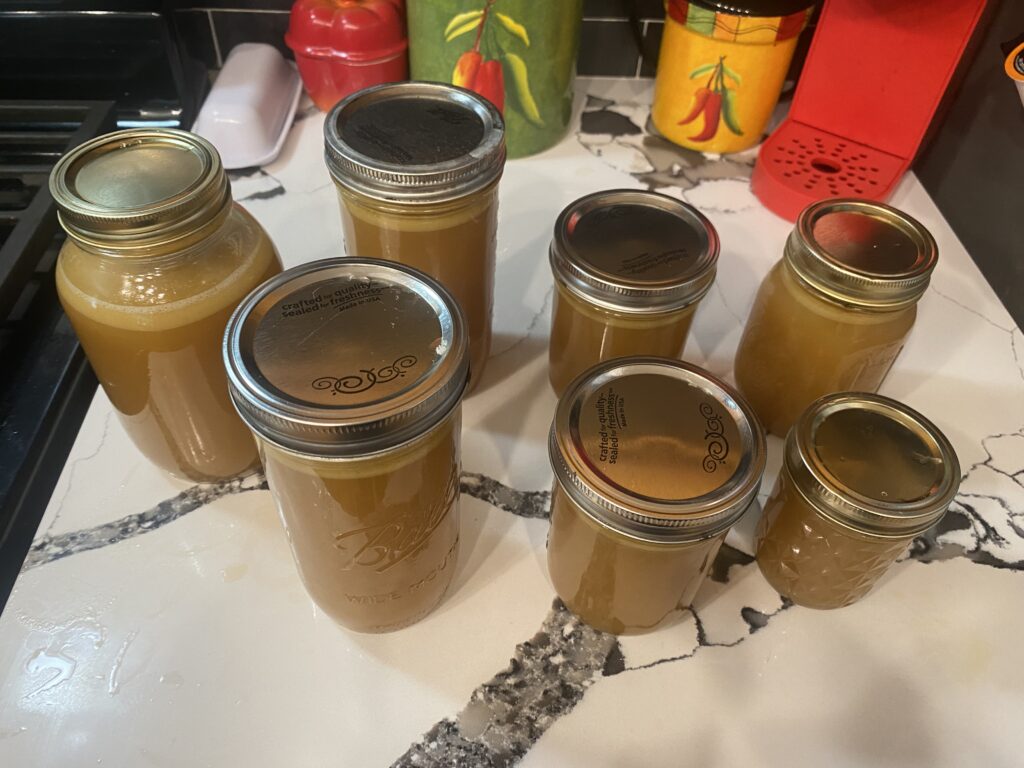
Using a magnet, remove the lids from the hot water bath and place them carefully on the jars. The rings go last, but do not tighten completely. Just a little nudge. They are mainly used to keep the lids in place throughout processing.
Fill the Pressure Canner
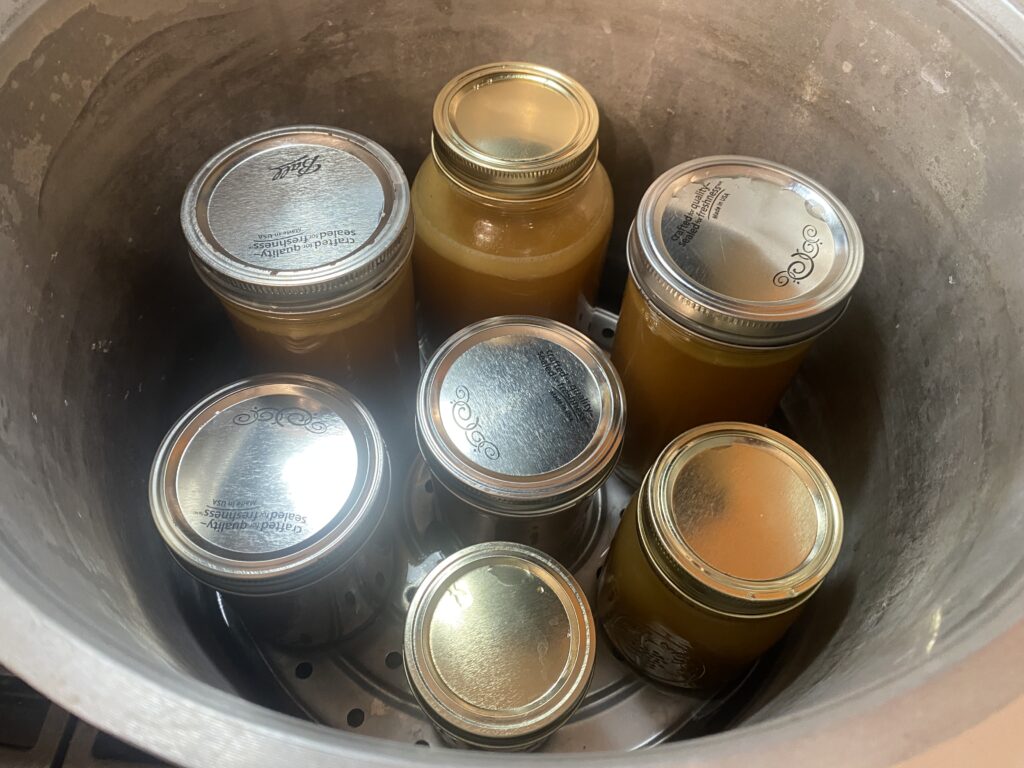
Make sure the water in the canner is hot and boiling. We need everything to pressurize quickly once you set your timer. Using the tongs, set the filled jars into the canner’s hot water. Put the jars onto the canning rack to keep them from touching the hot bottom of the canner.
You can stack jars!! This is even better, as now you can fit more into the already quite large pressure canner. Keep in mind that it is never recommended to stock more than once, even if you’re using small jars. I tend to do quarts or 24 oz jars on the bottom, with pints and half pints on top.
If you do stack jars, put a second canning rack on first to distribute the weight of the second layer evenly.
Processing
Process time and the weight used can vary depending on what you are pressure canning. However, every stock or broth I have ever canned requires 10 pounds of pressure and a 20 – 30 minute processing time. So I use that as my rule of thumb, even if I have a few chicken stocks and a veggie stock or 2 to can. This will make it easier for you, as you can do everything in one batch.
Close the canner following the manual
I cannot stress enough how important it is to properly close and tighten your pressure canner. These guys can be dangerous at worst and, at best, will not pressurize. Read the instructions that came with your canner and follow the manufacturer’s safety guidelines.
Once the lids are secured, put on the pressure control weight and set a timer for 30 minutes.
Cool Cooker & Remove Jars
When the timer goes off, turn off the heat. You can technically vent the pressure by removing the weight control and releasing the steam, but my friends, I am a coward when it comes to heat. Why risk it?! I’m good.
Now you can turn off the heat, and the pressure will slowly, naturally release. Even if you have other things to cook, the canner can be pushed to the back of the stove. After about an hour, you should be more than good enough to open the lid and pull out the jars. Believe it or not, the jars may still be hot, so use the canning tongs for safety.
Clean the canner
Some people assume that since the food isn’t going directly into the canner, no need to wash it. You’ll notice that it smells like whatever you have canned. Be sure to wash it out along with the weight, and allow them to dry properly before packing everything away.
All Done!
Once your jars are cool, label and date them. Feel proud of yourself as you put them away. Making and canning things is a cool skill that is slowly being lost, and you have a reason to feel like a boss. Keep it up!
Safety Alert: Let Jars Cool Undisturbed
Once your jars come out of the canner, place them on a towel, cooling rack, or wooden cutting board to protect them from a sudden temperature change. Leave a little space between each jar and let them cool completely without moving, tilting, tightening the rings, or testing the lids.
Jars need time to form a proper vacuum seal as they cool. Moving them too soon can interfere with the sealing process, and if a lid loosens or releases while the contents are still extremely hot, it can cause painful burns.
This is especially important after pressure canning, where both the jars and food remain much hotter for longer than they do with water bath canning.
For the best seal and safest results, let your jars sit undisturbed for 12 to 24 hours before checking the seals, removing the rings, or storing them.
Frequently Asked Questions
Do I have to remove fat?
Not technically, no. However, the fat can cause a poor seal if it gets between the lid and the jar. I don’t remove the fat every time. I’ve seen other preservers say that the stock can go sour, but I have never had that happen. To be fair, though, I use up a lot of my stock, hehe, before I can make another batch. In other words, it’s not sitting around for a long time.
Are broth and stock the same?
They are not. Broth is made chiefly from meat & stock is made from the bones. Stock is also cooked much longer and condensed to create a much richer flavor. In vegetables that are basically the same, the stock is cooked longer to concentrate it.
Once you start using and making your own stocks, you get a bit spoiled by the flavor. Whenever making a broth from fresh chicken for something like chicken and dumplings, I end up reducing it or adding homemade bouillon to enhance the flavor.
Can you put a pressure canner on a glass-top stove?
Absolutely not! I had an Aunt and Uncle who broke their glass top with a pressure cooker. They cannot handle the weight. I believe it mentions that in the owner’s manual, but come on…who actually reads those?
How do you make stock from scratch?
YES!! I have an article listed below to help you. It’s not so hard, but it does take some time. Well worth it and you will not regret it!
How to make stock from a turkey or chicken carcass?
I make turkey stock every single year from Thanksgiving turkey leftovers. It is by far my favorite broth. You would make chicken stock in the same way, but on a smaller scale.
Is chicken stock healthy?
Yes! While you will need more than this to survive, making a rich stock from vegetable scraps will yield a low-fat & low-calorie stock. It will also contain protein, vitamins, and minerals.
What makes a good stock?
The basics of a stock are honestly what make it so good. It’s just a primary protein source, veggies or veggie scraps, and water. Some people will add aromatic herbs like bay leaves and thyme. I forgo the herbs to make the flavor much more versatile.
The main thing that makes a good stock is the use of bones and the condensation of the water, which gives the flavor! Patience brings perfection!
Is Pressure canning necessary for broth & stock?
Yes. Any foods with a lower acid content must be pressure canned. Unfortunately, this is most items. Pressure canners can reach much higher temperatures than boiling water alone. This gives them the ability to kill toxins that can be in the food, such as the one that causes botulism, a severe infection that attacks the nervous system.
📖 Related Articles
Homemade Stock
Ready to start from scratch? Learn how to make both homemade meat stocks and vegetable broths before preserving them with a pressure canner. This beginner-friendly guide covers the basics of creating rich, flavorful broths that are perfect for canning or freezing.
Canning Tomatoes
Want to learn the difference between pressure canning and water bath canning? Tomatoes are one of the most common high-acid foods preserved with a water bath canner. This guide walks you through the entire process and explains why this method is safe for tomatoes.
Canning 101
Want to learn more about canning? Canning 101 is your complete beginner’s guide to home canning, covering equipment, safety, water bath canning, pressure canning, and the essential skills needed to preserve food with confidence.
🛠️ Product Links
This page contains affiliate links. If you purchase through one of these links, we may earn a small commission at no extra cost to you.
Thank you for helping support Small Scale Homestead!
Pressure Canner
Ready to make your homemade stock shelf-stable? A pressure canner allows you to safely preserve low-acid foods like stocks and broths for long-term pantry storage.
Canning Kit
A basic canning tool set makes filling, handling, and removing hot jars much easier and saves you from trying to improvise with whatever happens to be in the kitchen.
Canning Kit
A good set of kitchen tools comes in handy long before the stock reaches the canner! This colorful silicone set includes everyday tools for stirring, scooping, and cooking, and is heat-resistant up to 425°F.
Leave a Reply