
Fresh Greens Year-Round
Why grow your own micros?
Why wouldn’t you?! They’re higher in nutrients than their fully grown counterparts. You get to grow them year-round, and they take up very little space. Not to mention the satisfaction of growing things yourself. Come on. Growing things is fun!
- High vitamin and mineral count per pound compared to fully grown versions of the same plants.
The nutritional benefits are through the roof! For example, micro broccoli has 40 times the nutrients of fully grown broccoli. 40 times!! That’s an insane amount of nutrients, once and for all. It also has a much higher amount of antioxidants. Most micros are much higher in both vitamins and minerals than their grown counterparts.
- Saves money to grow them yourself
You can run to the local grocery store and buy micros, sure. However, the cost per pound is higher than for almost any other fruit or veggie there. Example? My local store sells a small 2 oz. package of micro broccoli for $4.66. That’s $37.28 a pound!
You can buy a pack of seeds for around $19 on Amazon and get tray after tray of micros. Likely more than you can consume if you grow them in succession. One bag should get you more than 8 trays full, and each tray is more than 2 oz.
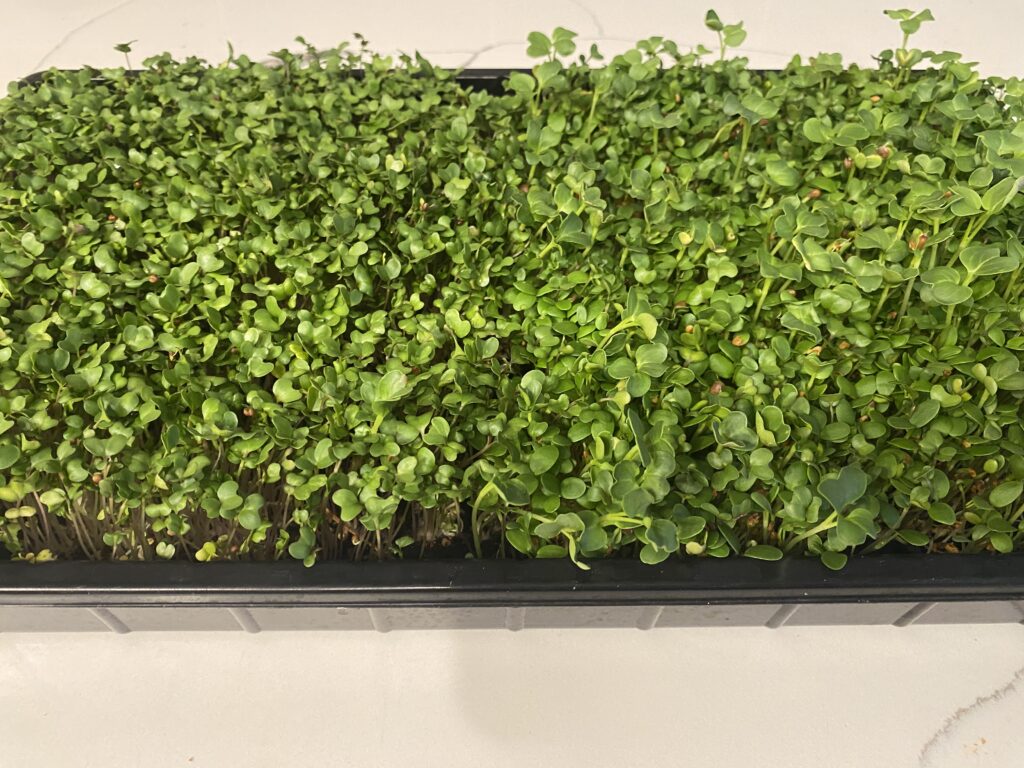
- Control the soil and plant intake
Plus, there is the added benefit of controlling soil nutrients and growing completely organically. You can use soil and additives you may already have, making this a quick and easy undertaking.
- Space-saving and easy to grow
It is easy and takes up very little space, so it can easily grow indoors when the season doesn’t permit full gardening. It’s a great way to scratch the plant itch you get all winter!
Takes up way less space than a garden, so it’s great for people in apartments or those with limited space.
- Grow quickly, like super quickly
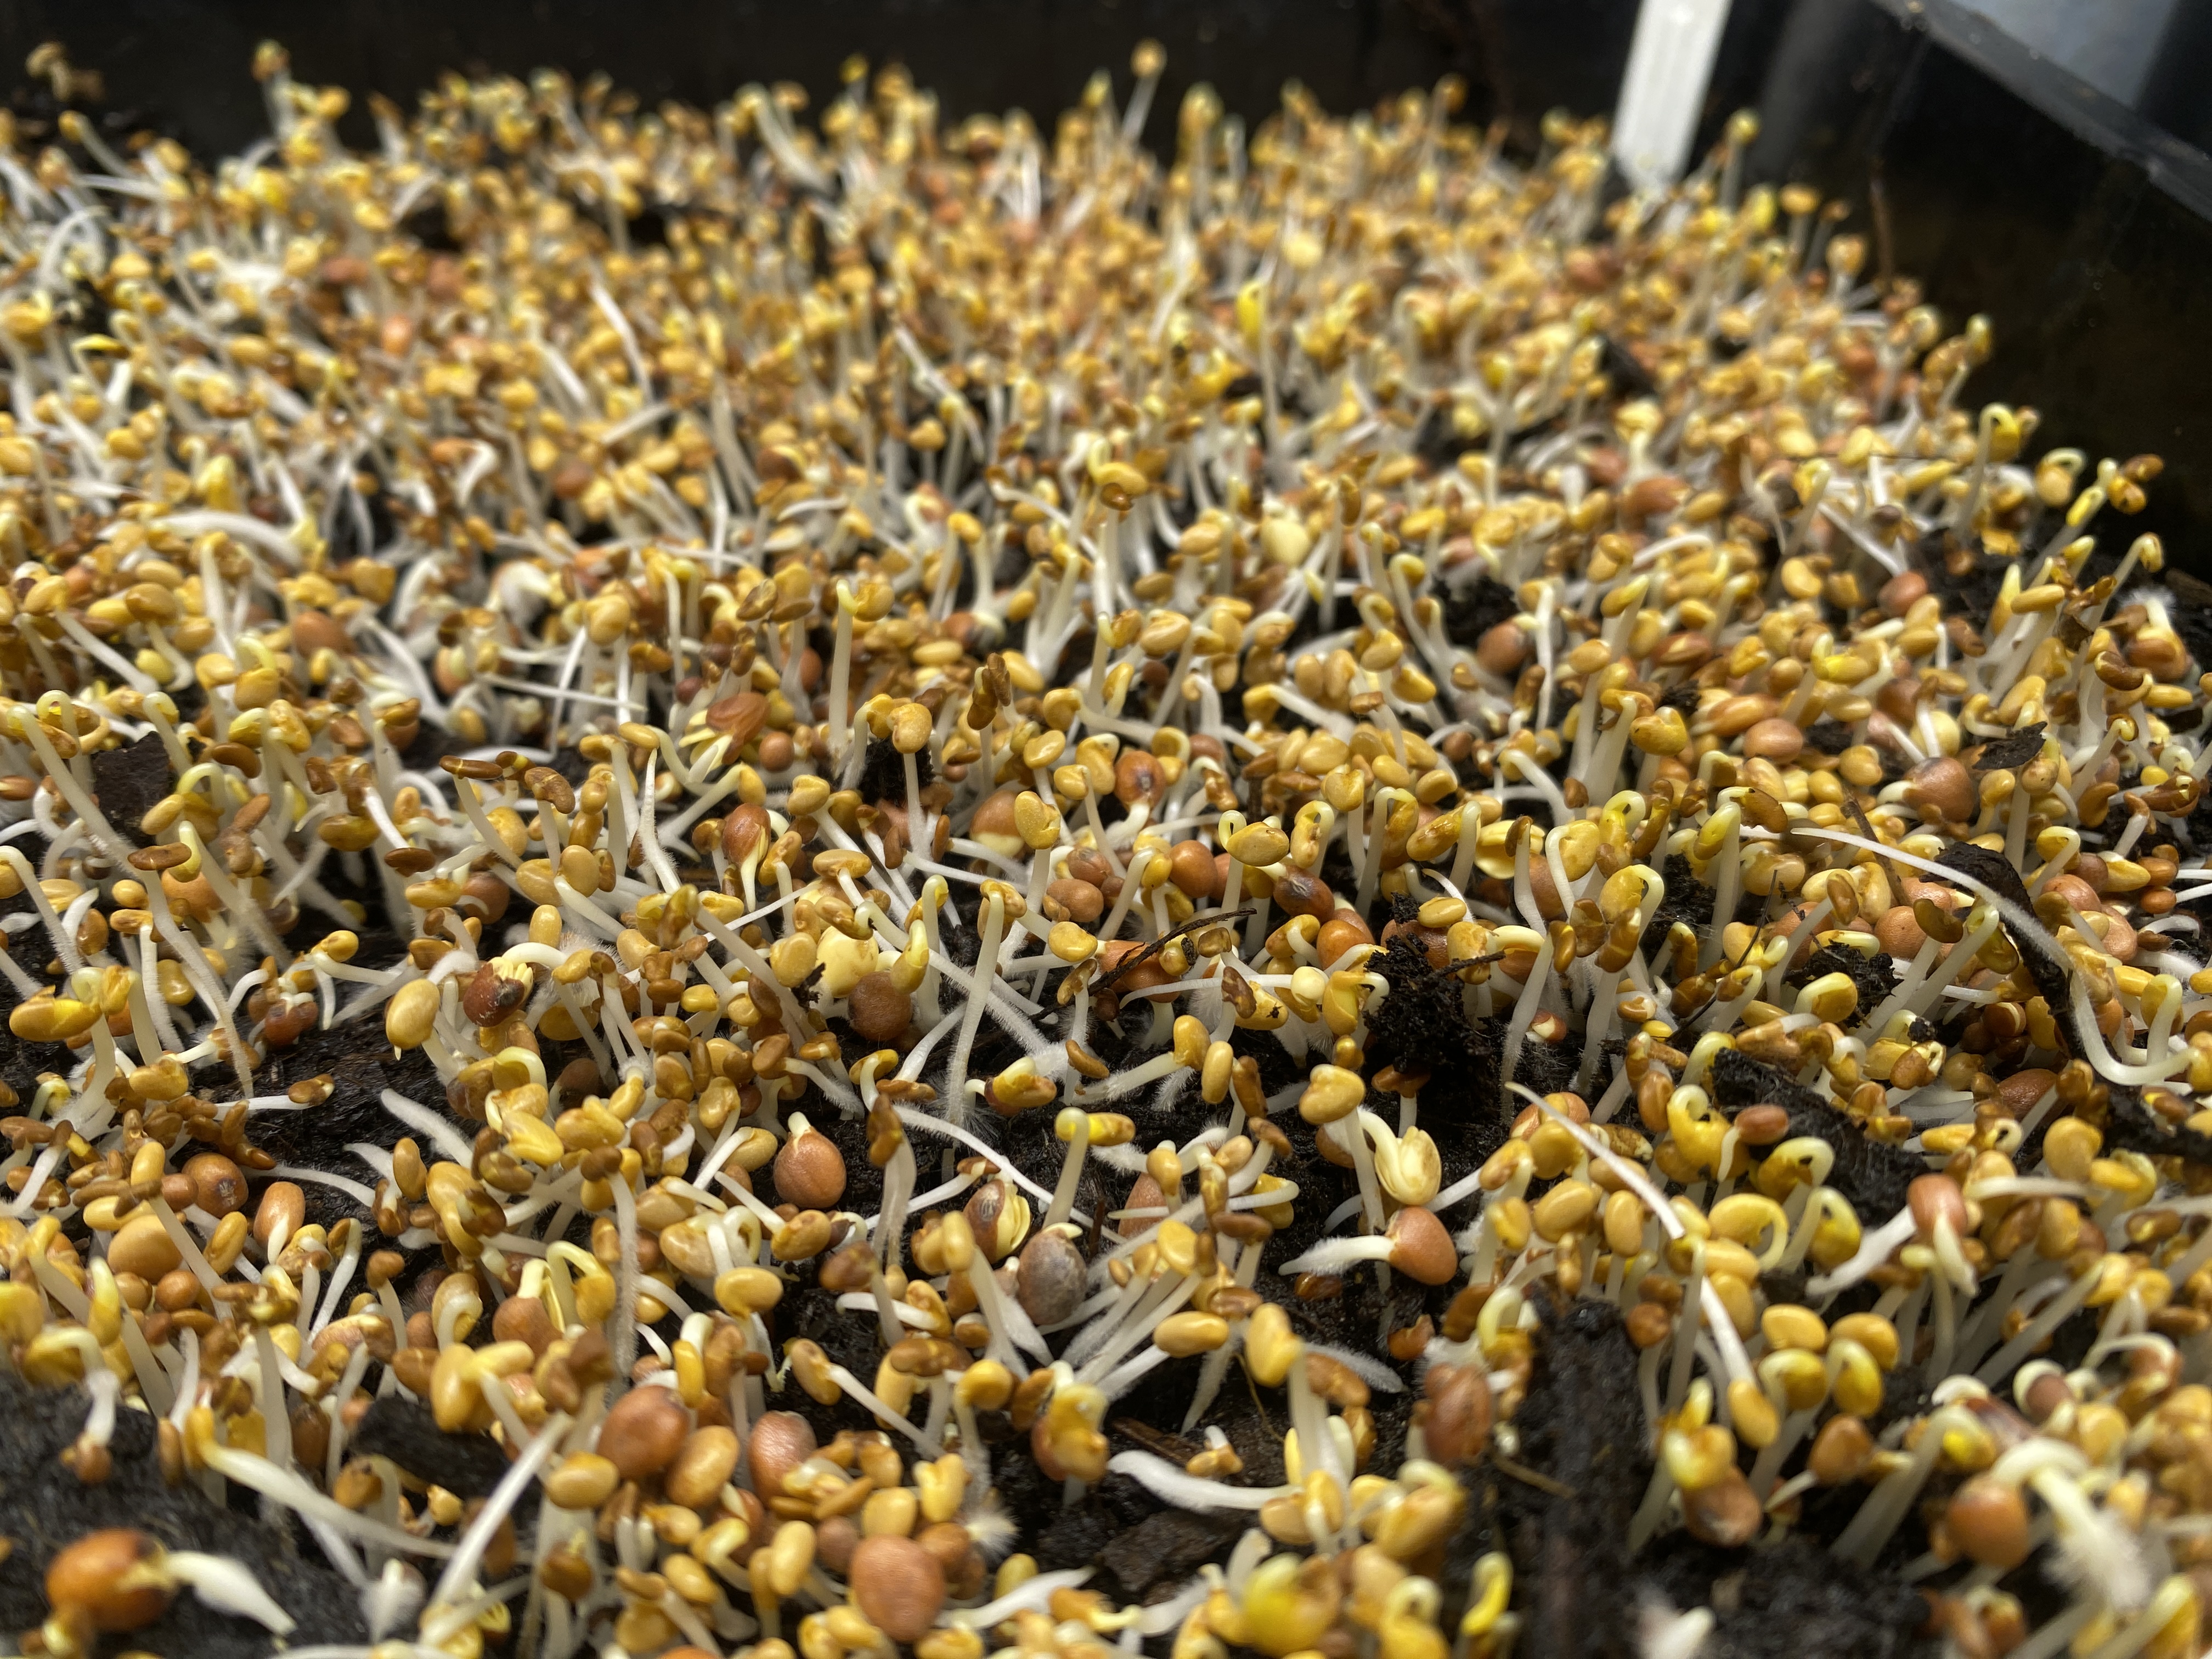
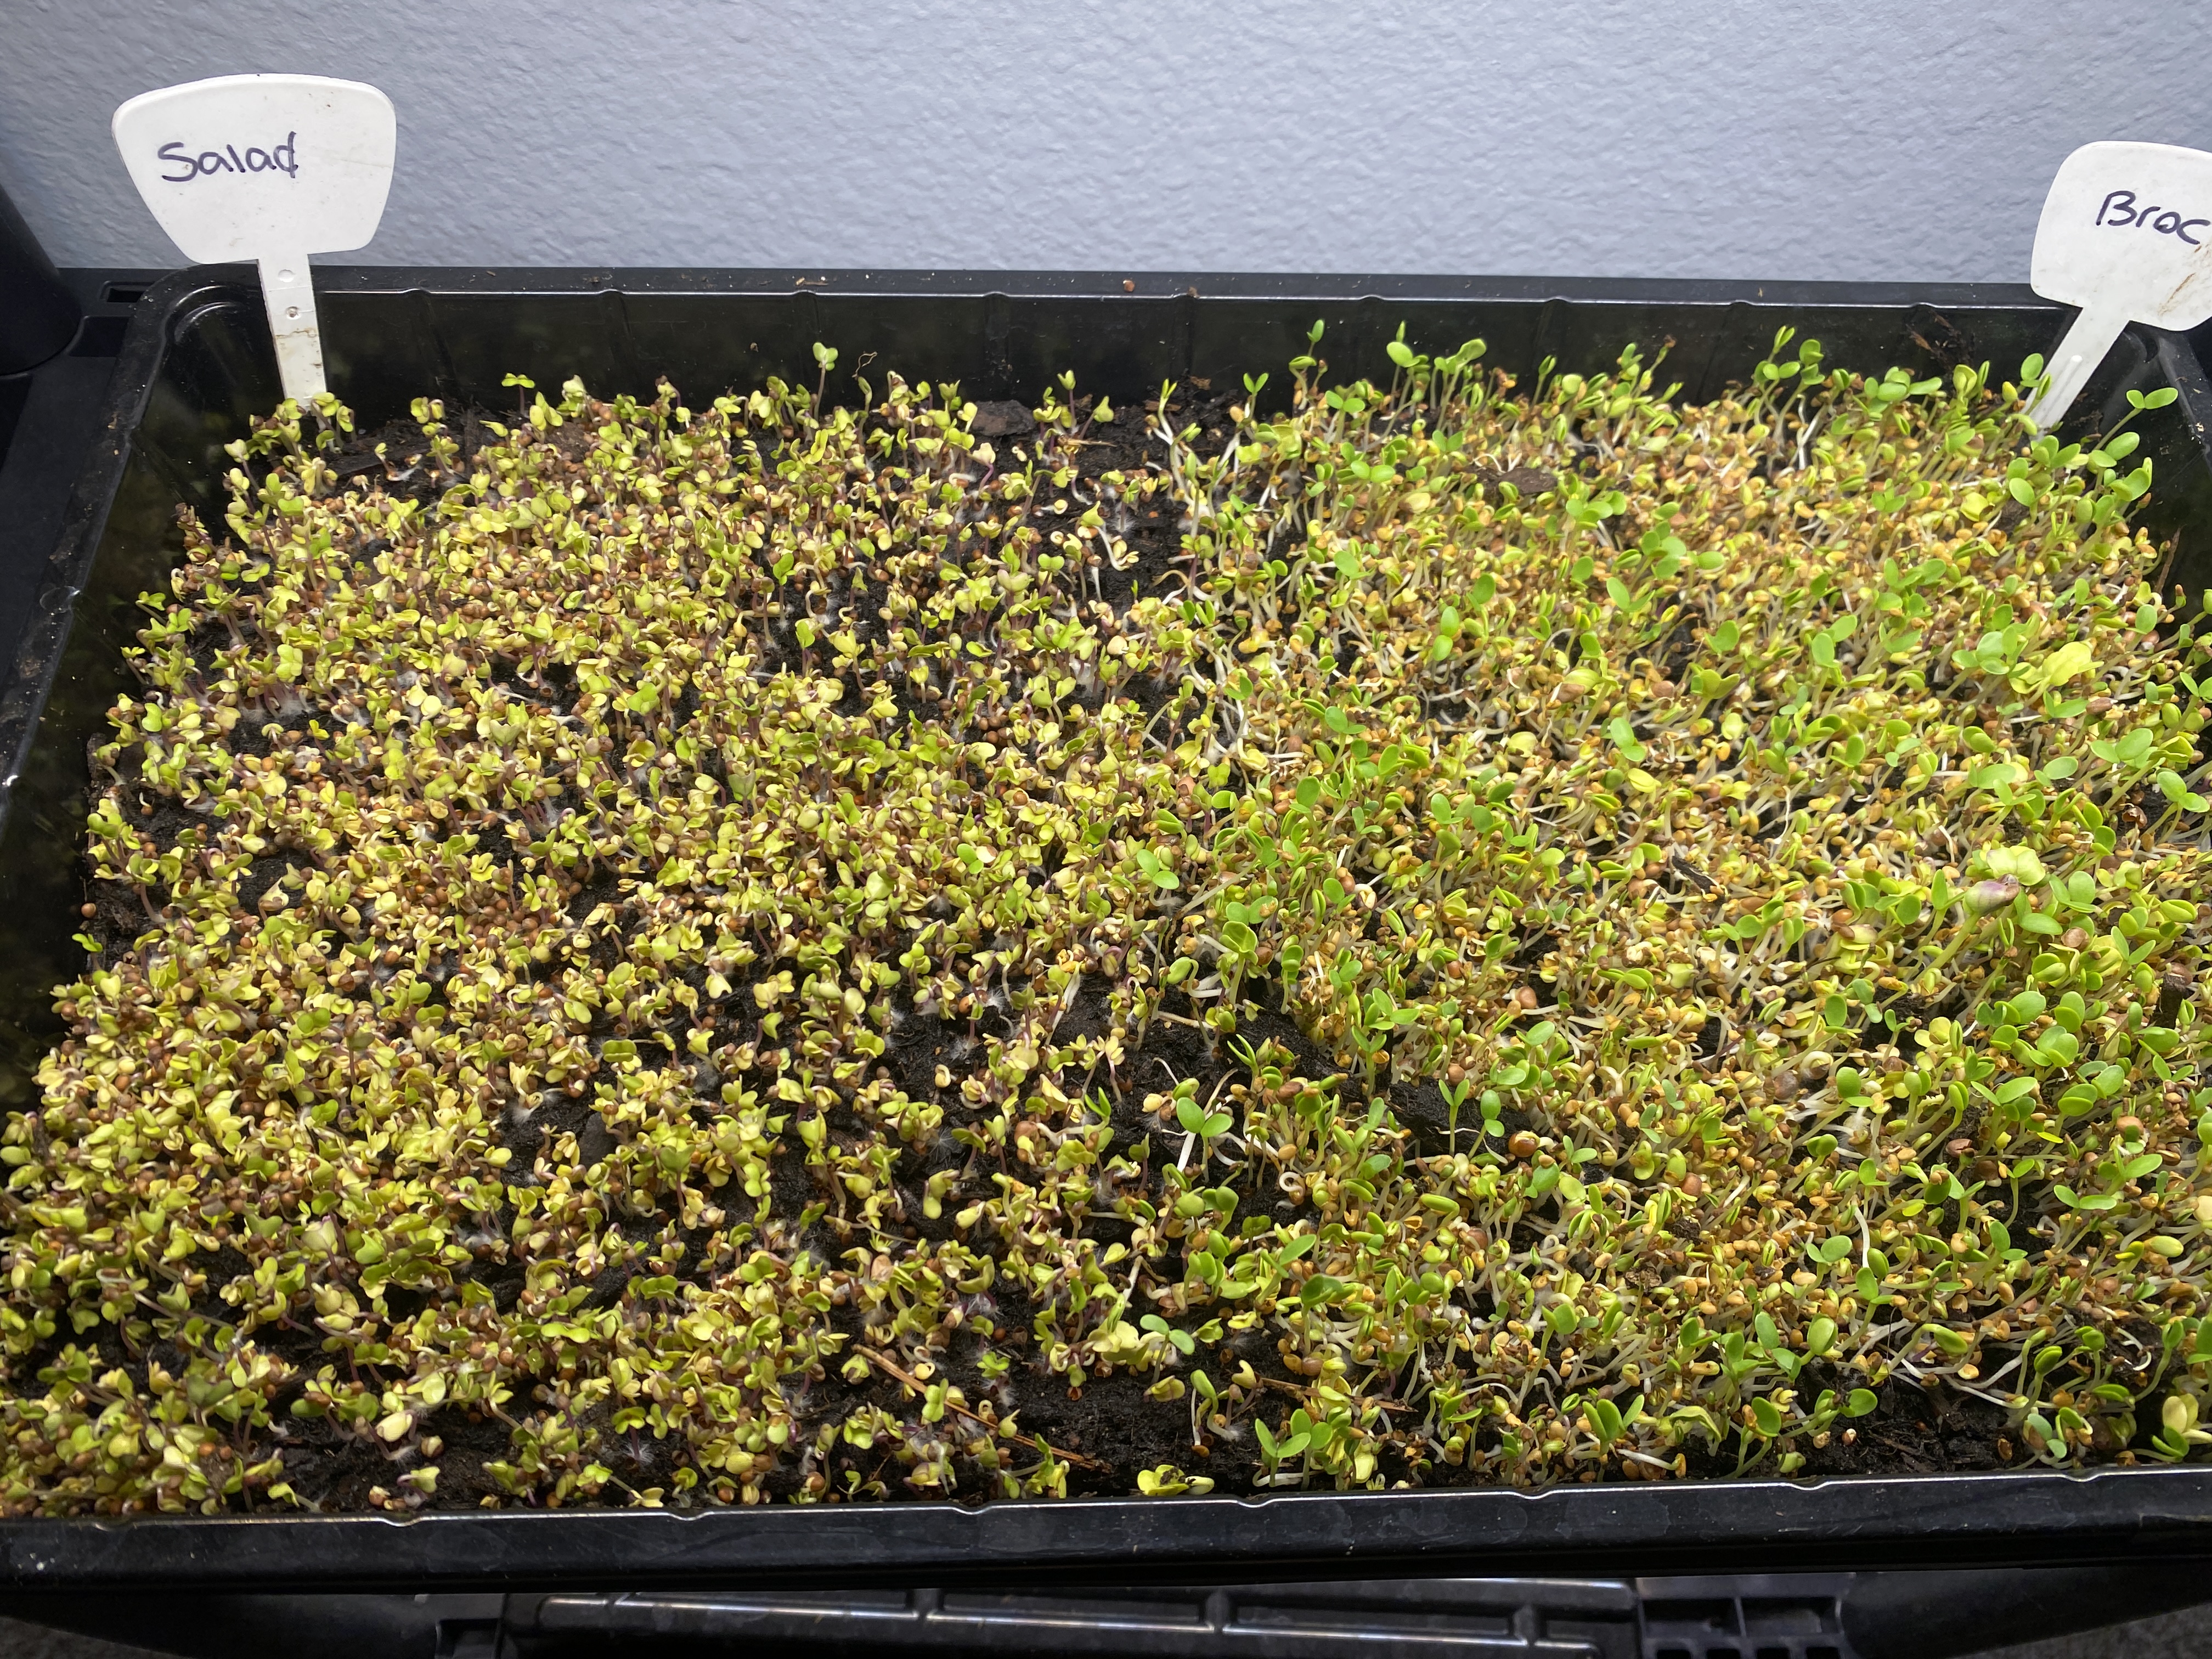
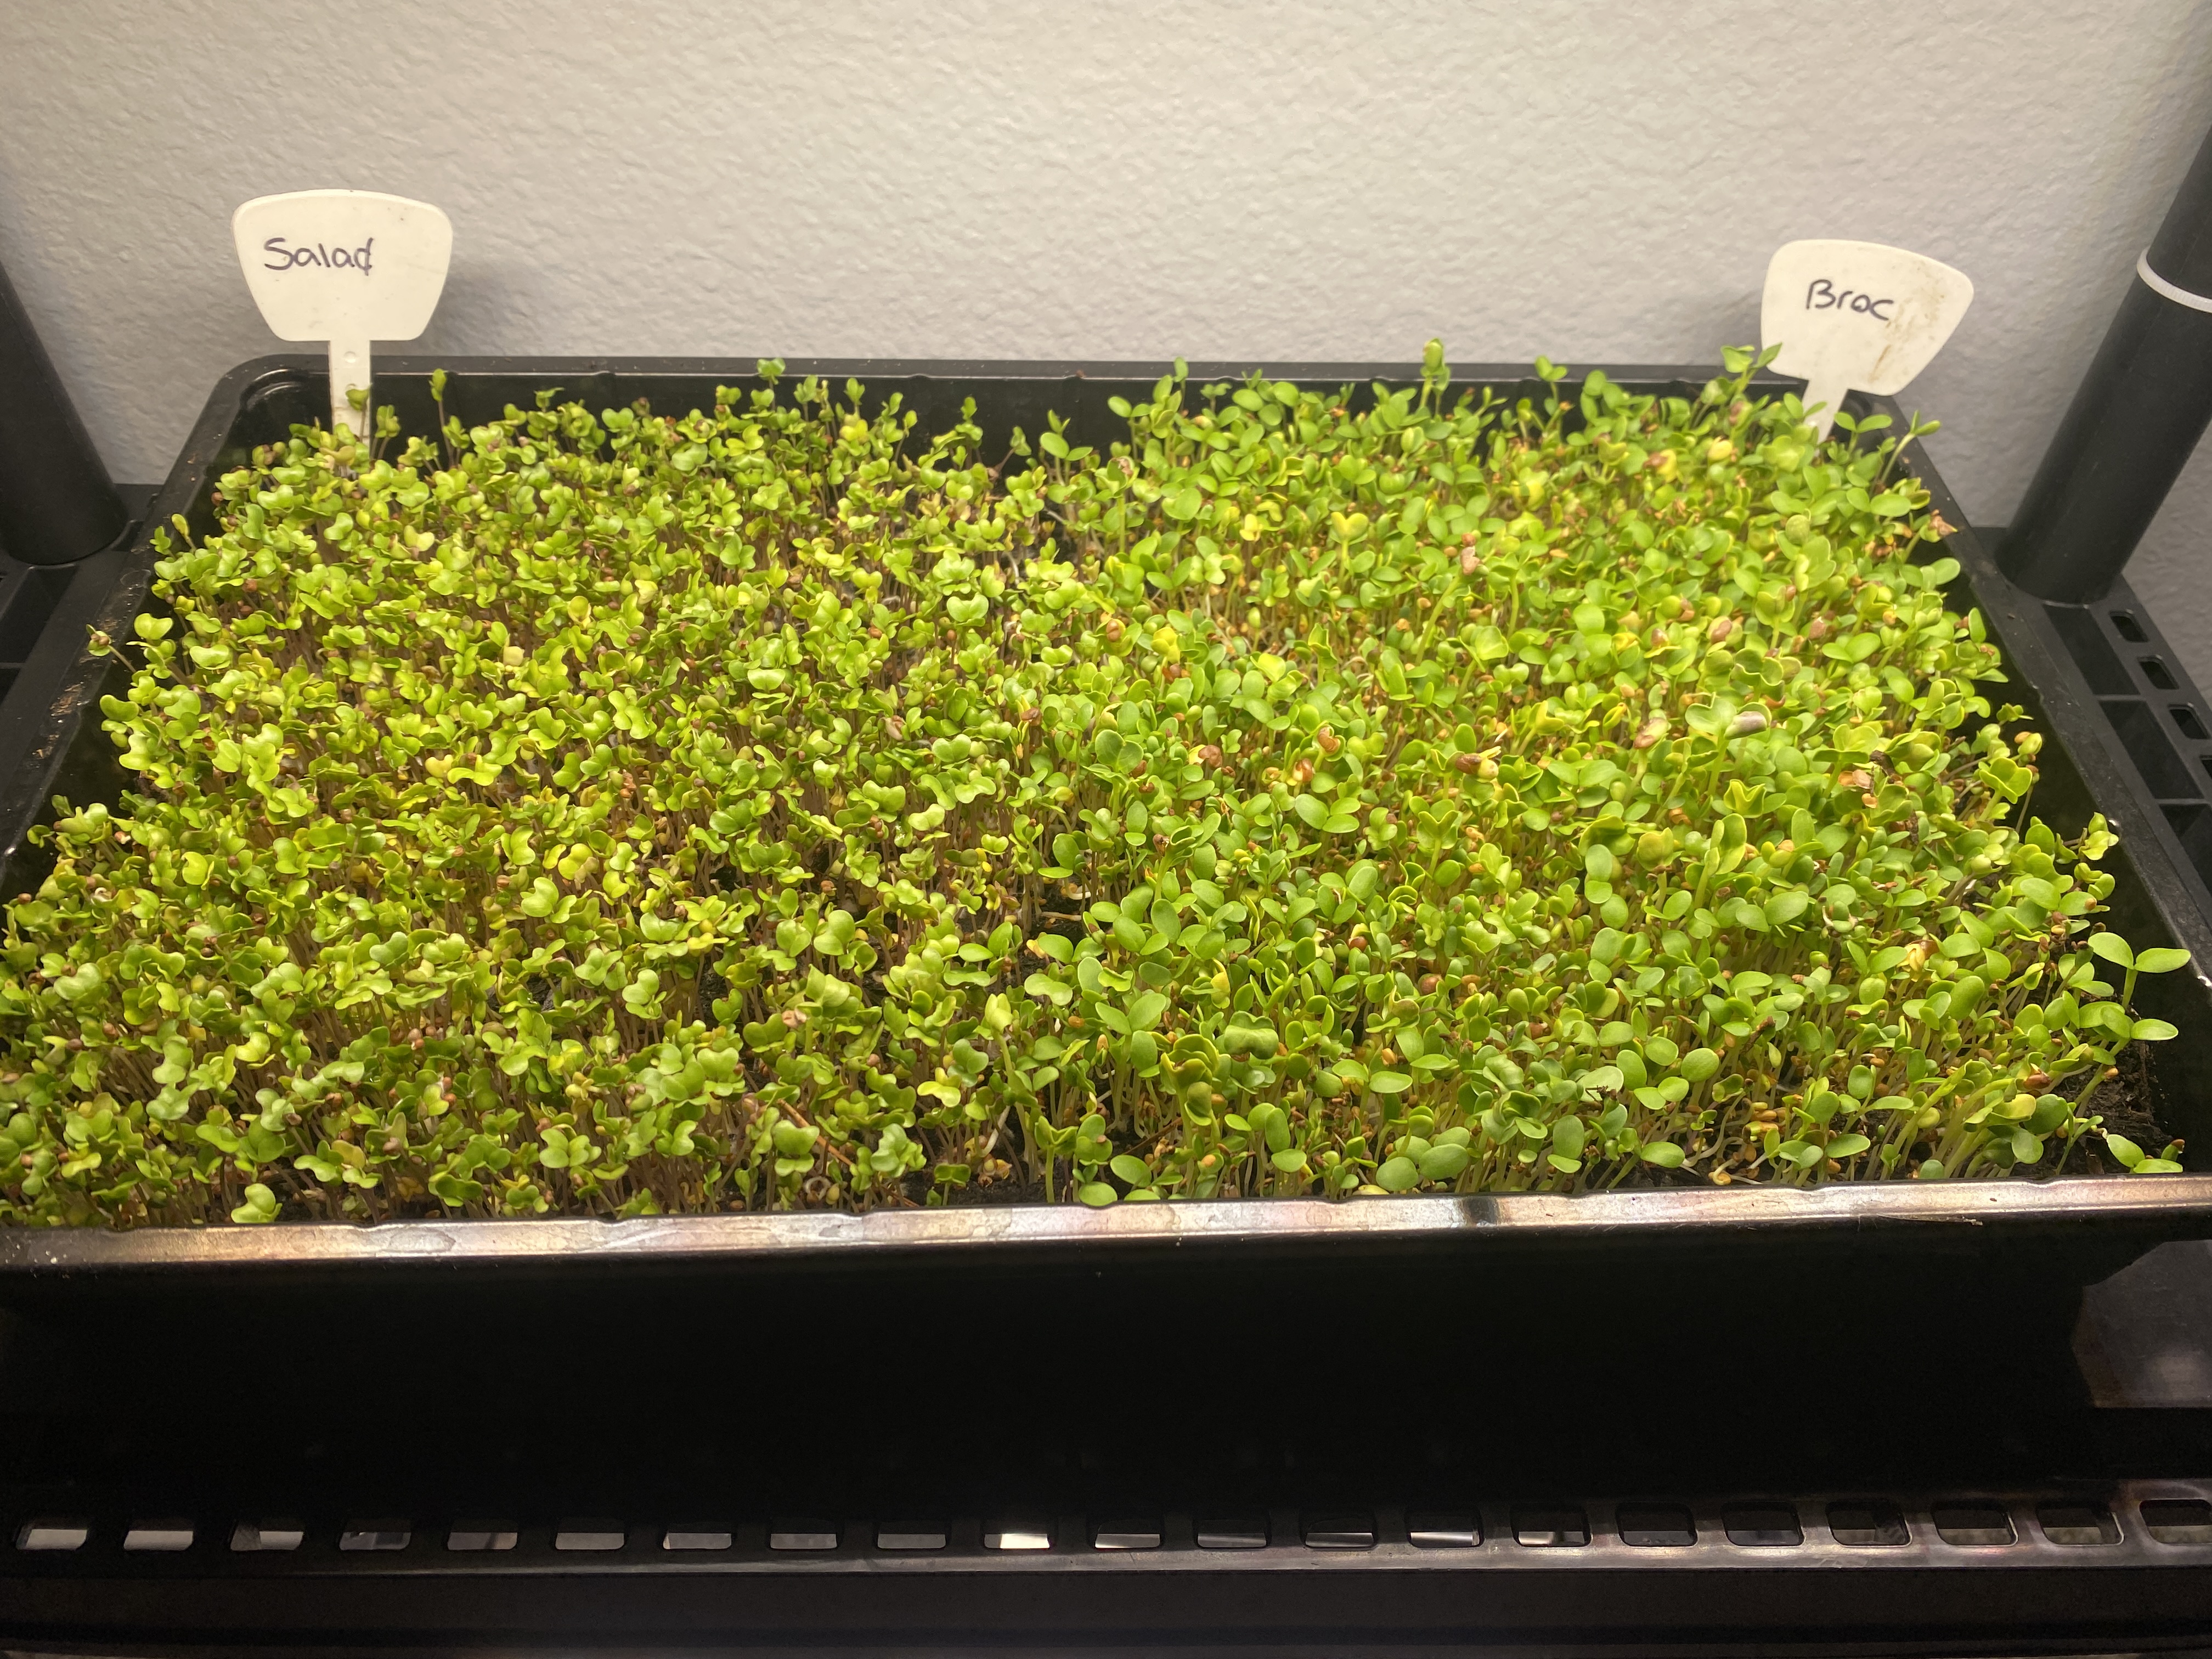
Since they grow within days, you have the option of starting them for a harvest just in time for an event or recipe you plan to make. It’s actually super cool! Gonna make a hearty winter stew on Wednesday? Plant a micro or two on Friday or Saturday!
How to use microgreens
However you want! They can be harvested within days of planting and put into soups and stews, added to salads, or even put on a sandwich or wrap with your lettuce.
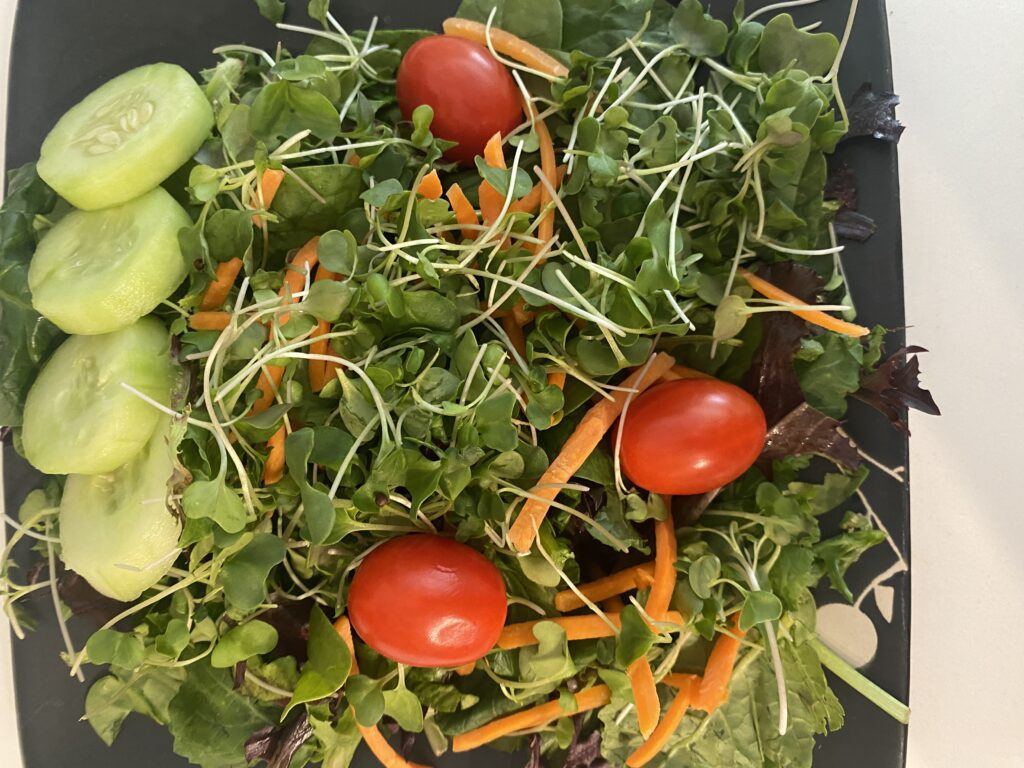
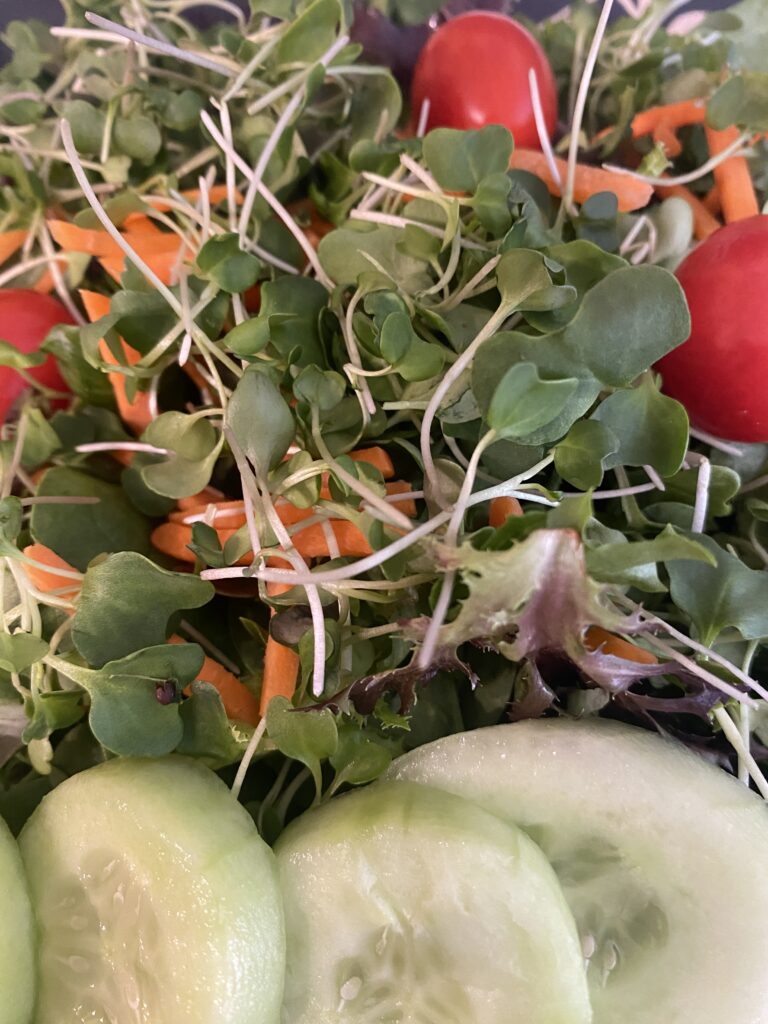
I personally love sprinkling them into the salad mix at home. It’s a great way to add a nutrient punch to something already healthy!
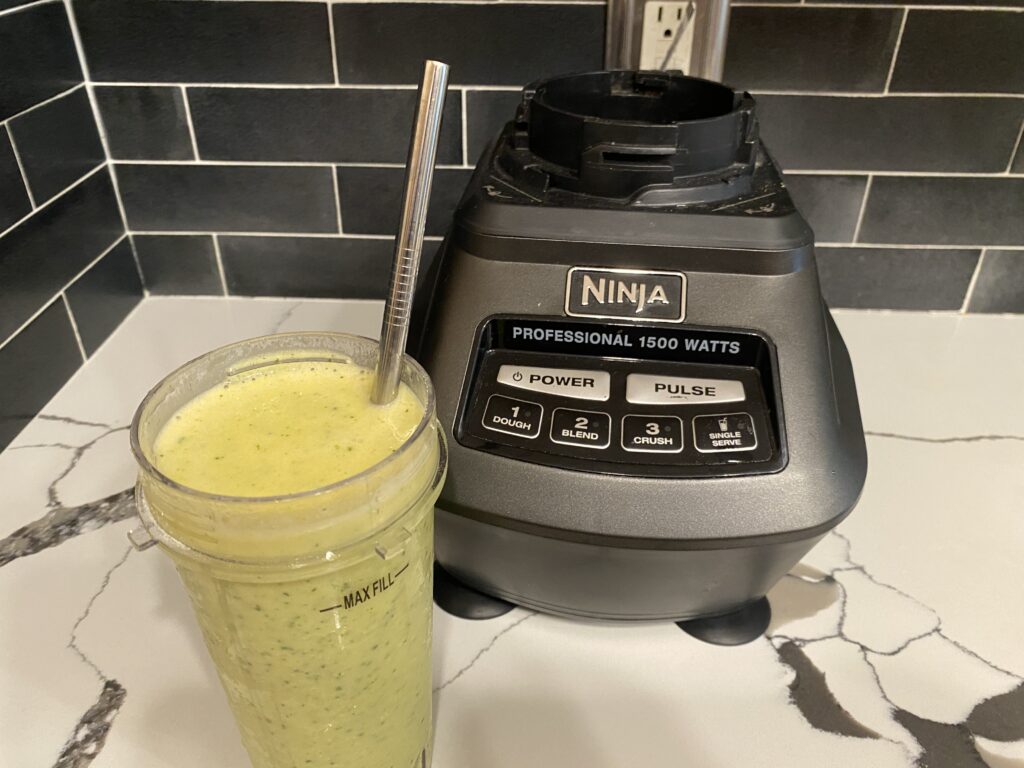
You can easily add a large handful to a blender or food processor to chop them, then add them to any soup or sauce.

What type of micros to grow
There are so many options! Broccoli, salt mixes, “spicy” salad mixes, arugula, wheatgrass. My personal favorites are the repeatedly mentioned bocci and the salad mix. The salad mix is interesting because it includes greens that aren’t already in my normal mix of romaine and green leaf lettuce. This one consists of alfalfa, radish, clover, and broccoli. Sprinkle over the top of your salad, and done! Below is a list of commonly grown micros to choose from.
Kale Basil Celery Red Cabbage
Broccoli Mustard greens. Cilantro Chia
Radish Sunflower Alfalfa Cress
Arugula Wheat grass Buckwheat Carrots
**Personally, I find the options overwhelming, so I stick to 2 or 3 that feel more familiar and are the most versatile.
What do you need?
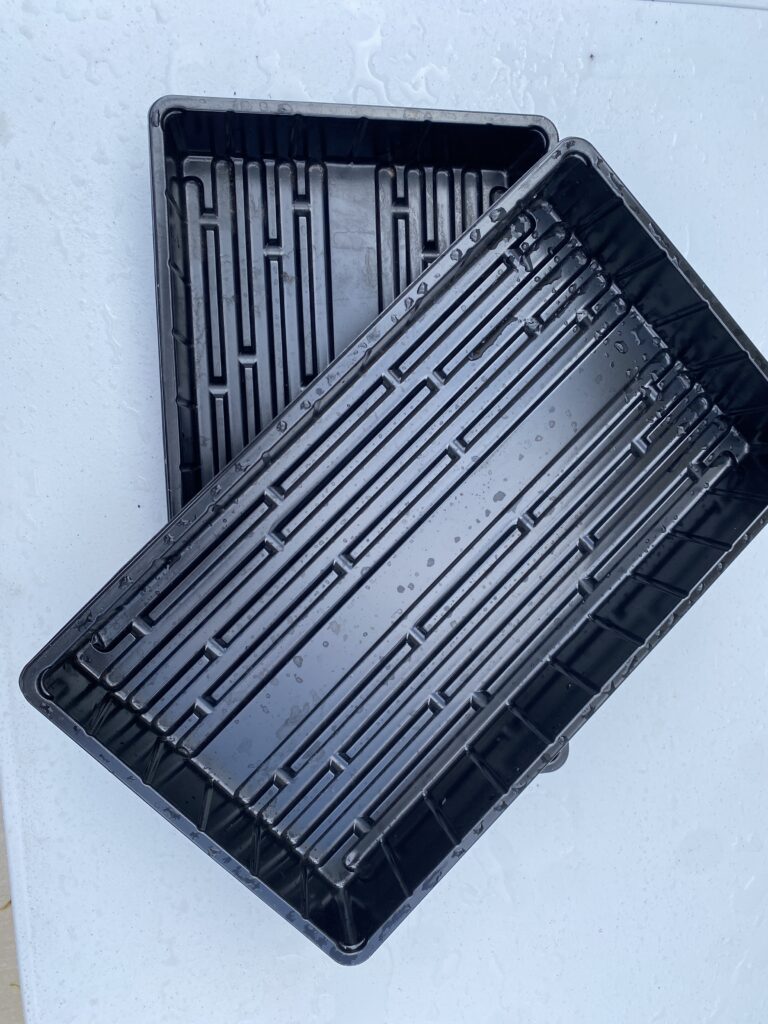
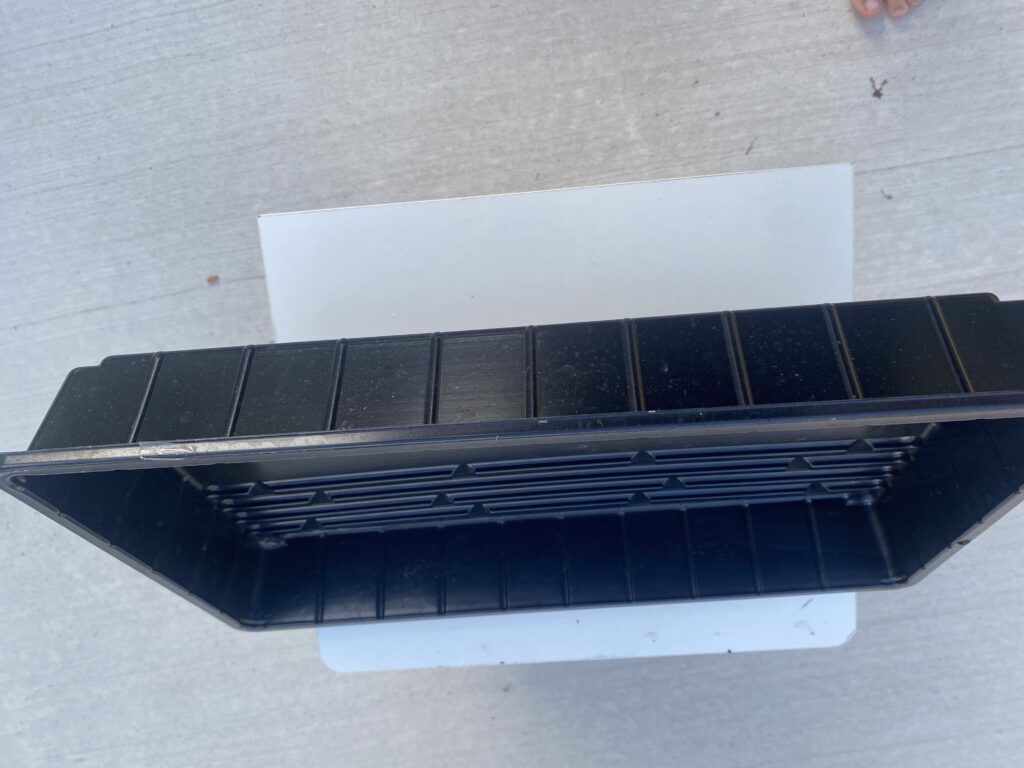
Purchase simple growing trays. When searching, try to avoid the terms “micro greens” or “micro trays,” as they will lead to more expensive, more complicated options. No need to get fancy. A plain black growing tray works just fine.
In fact, if you grow from seed often, you likely have a couple already that go under your plug trays. Although a bit smaller, these will work just fine! You’ll need two trays to use this method.
Pick your seeds or mix. DO NOT USE SMALL PACKS OF SEEDS. You’ll see in the instructions below that it takes quite a few seeds, and using these small packs is a pain, not to mention much, much more expensive, as you will need so many packs. I use the small, family-owned company SeedNow!, linked below.
Keep in mind that many seed types can be used as sprouts as well, so I like to pick seeds I can use for both.
How to grow your own micros: Step-by-step
- Step 1: Choose your soil mix
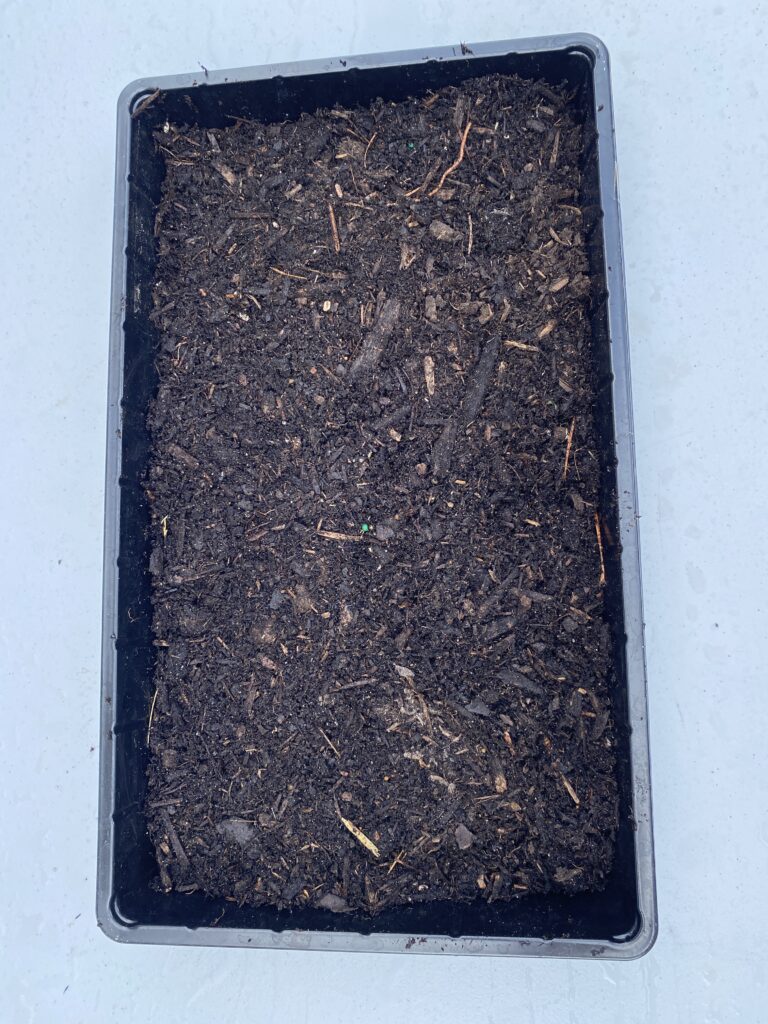
This can be something you already have. Again, no need to get fancy. If you have pots or beds with soil that you’re happy with…go with that! I personally keep a container full of organically supplemented soil mix. It has topsoil with compost and/or Peet moss, bone meal and/or bloodworm meal, etc. It’s honestly whatever was handy when I filled the container; I keep it around for any seed starting or micro-growing I may get an itch for.
- Step 2: Fill a tray or two
Take a tray and put a bit of water in the bottom. Just enough to cover it. This will prevent overwatering at the end. Put a layer of your soil into the tray. Don’t fill it up! This is important for harvesting later. I fill it to around the halfway mark.
- Step 3: Add your seeds
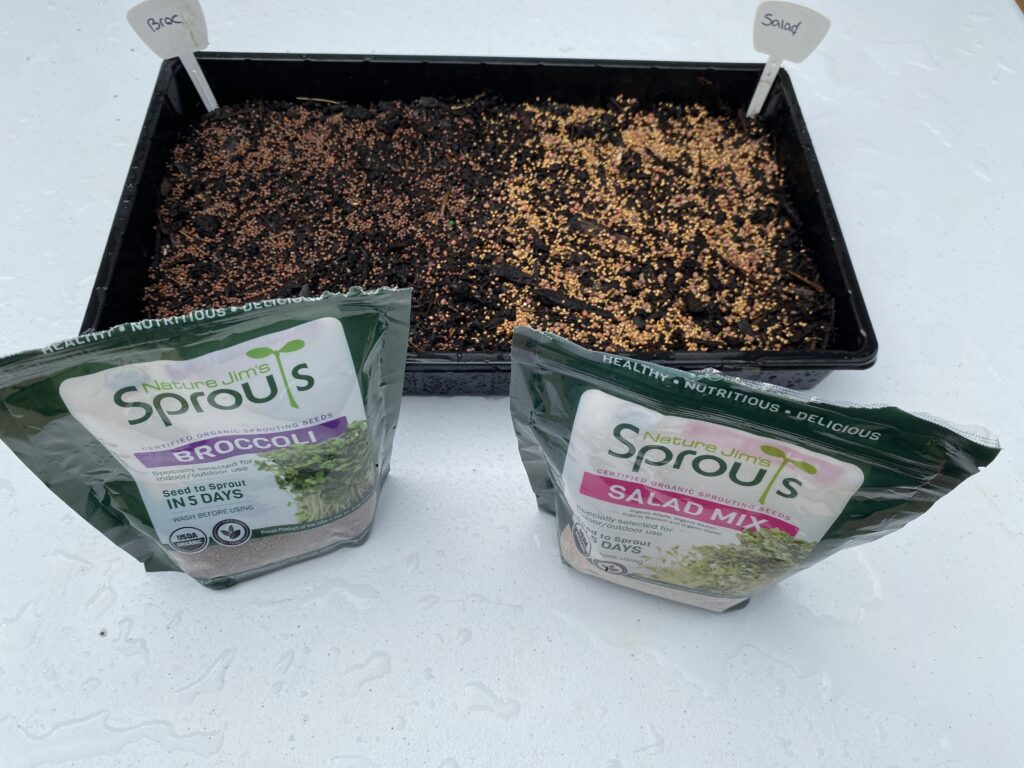
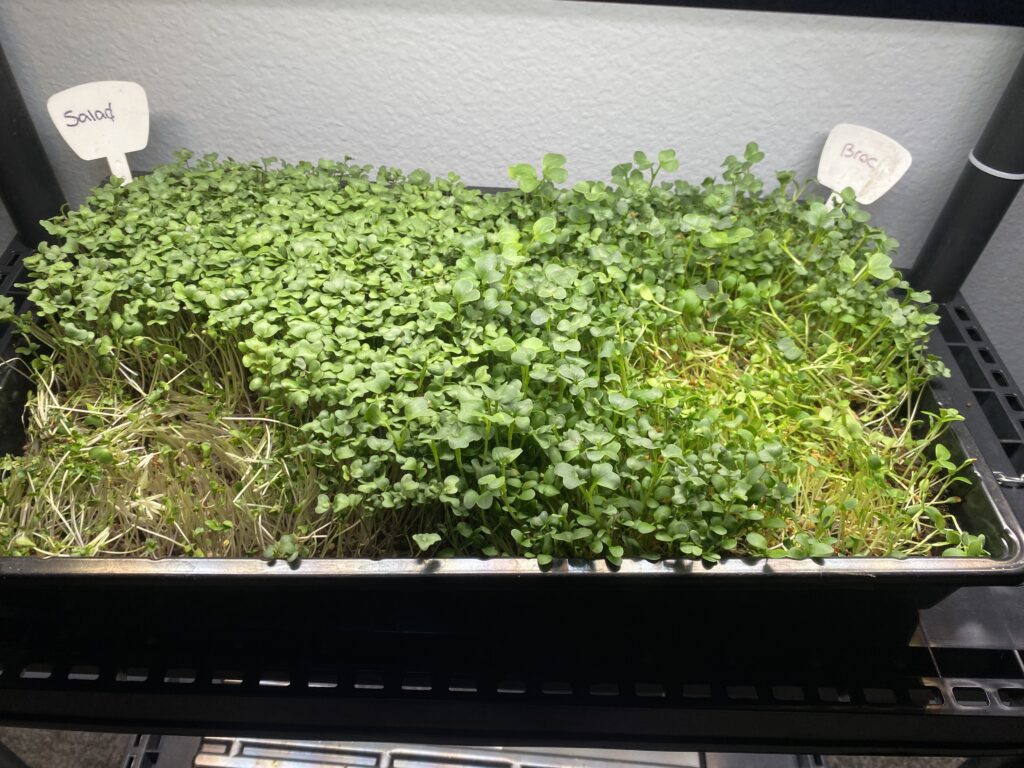
These will be much thicker than normal sowing. You’re going to sprinkle the seeds over the entirety of the soil quite thickly. You are purposely overcrowding them. You can even do the tray half-and-half. Just use something to mark where the line is. This is a great idea if you’re just experimenting and unsure of how many you will use or how you plan to use them.
- Step 4: Water and cover
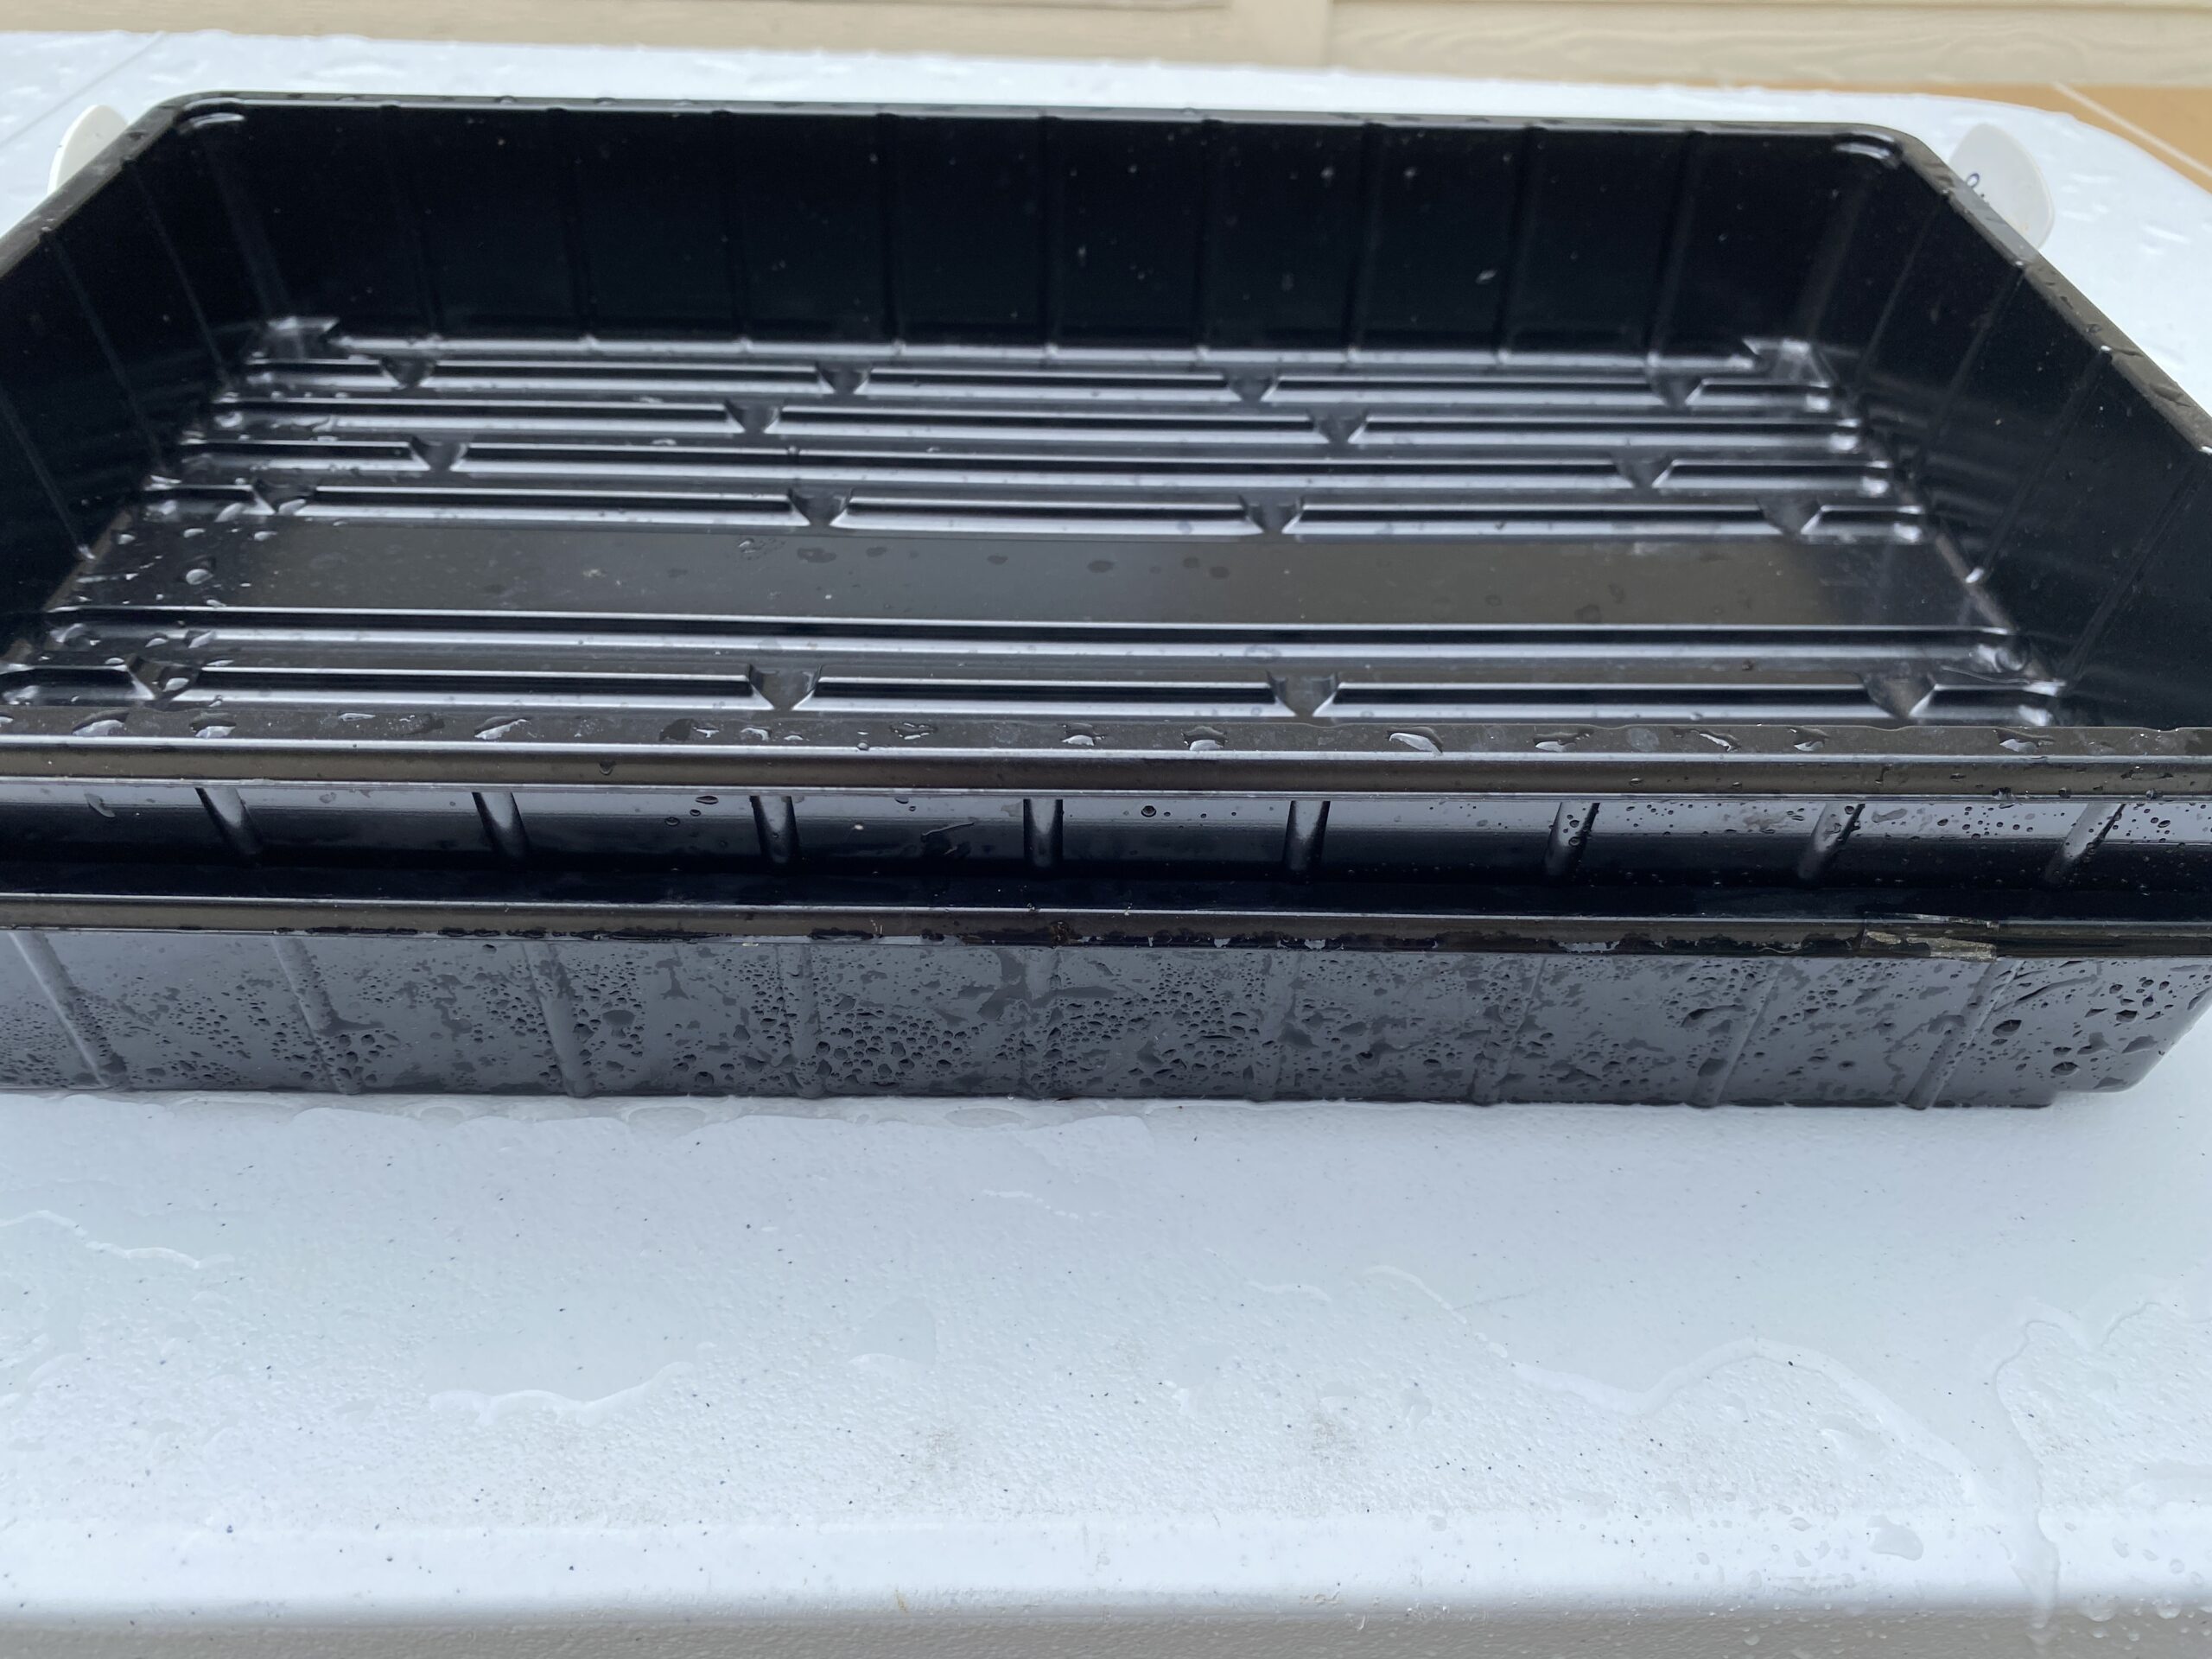
Water well, but do not soak the soil drastically. I use the mist setting on my hose nozzle to prevent the seeds from moving around. Now you will take a second tray and cover the seeds. No need to press down. This simply mimics the pressure of a light layer of soil that the seeds would get in nature after wind and rain.
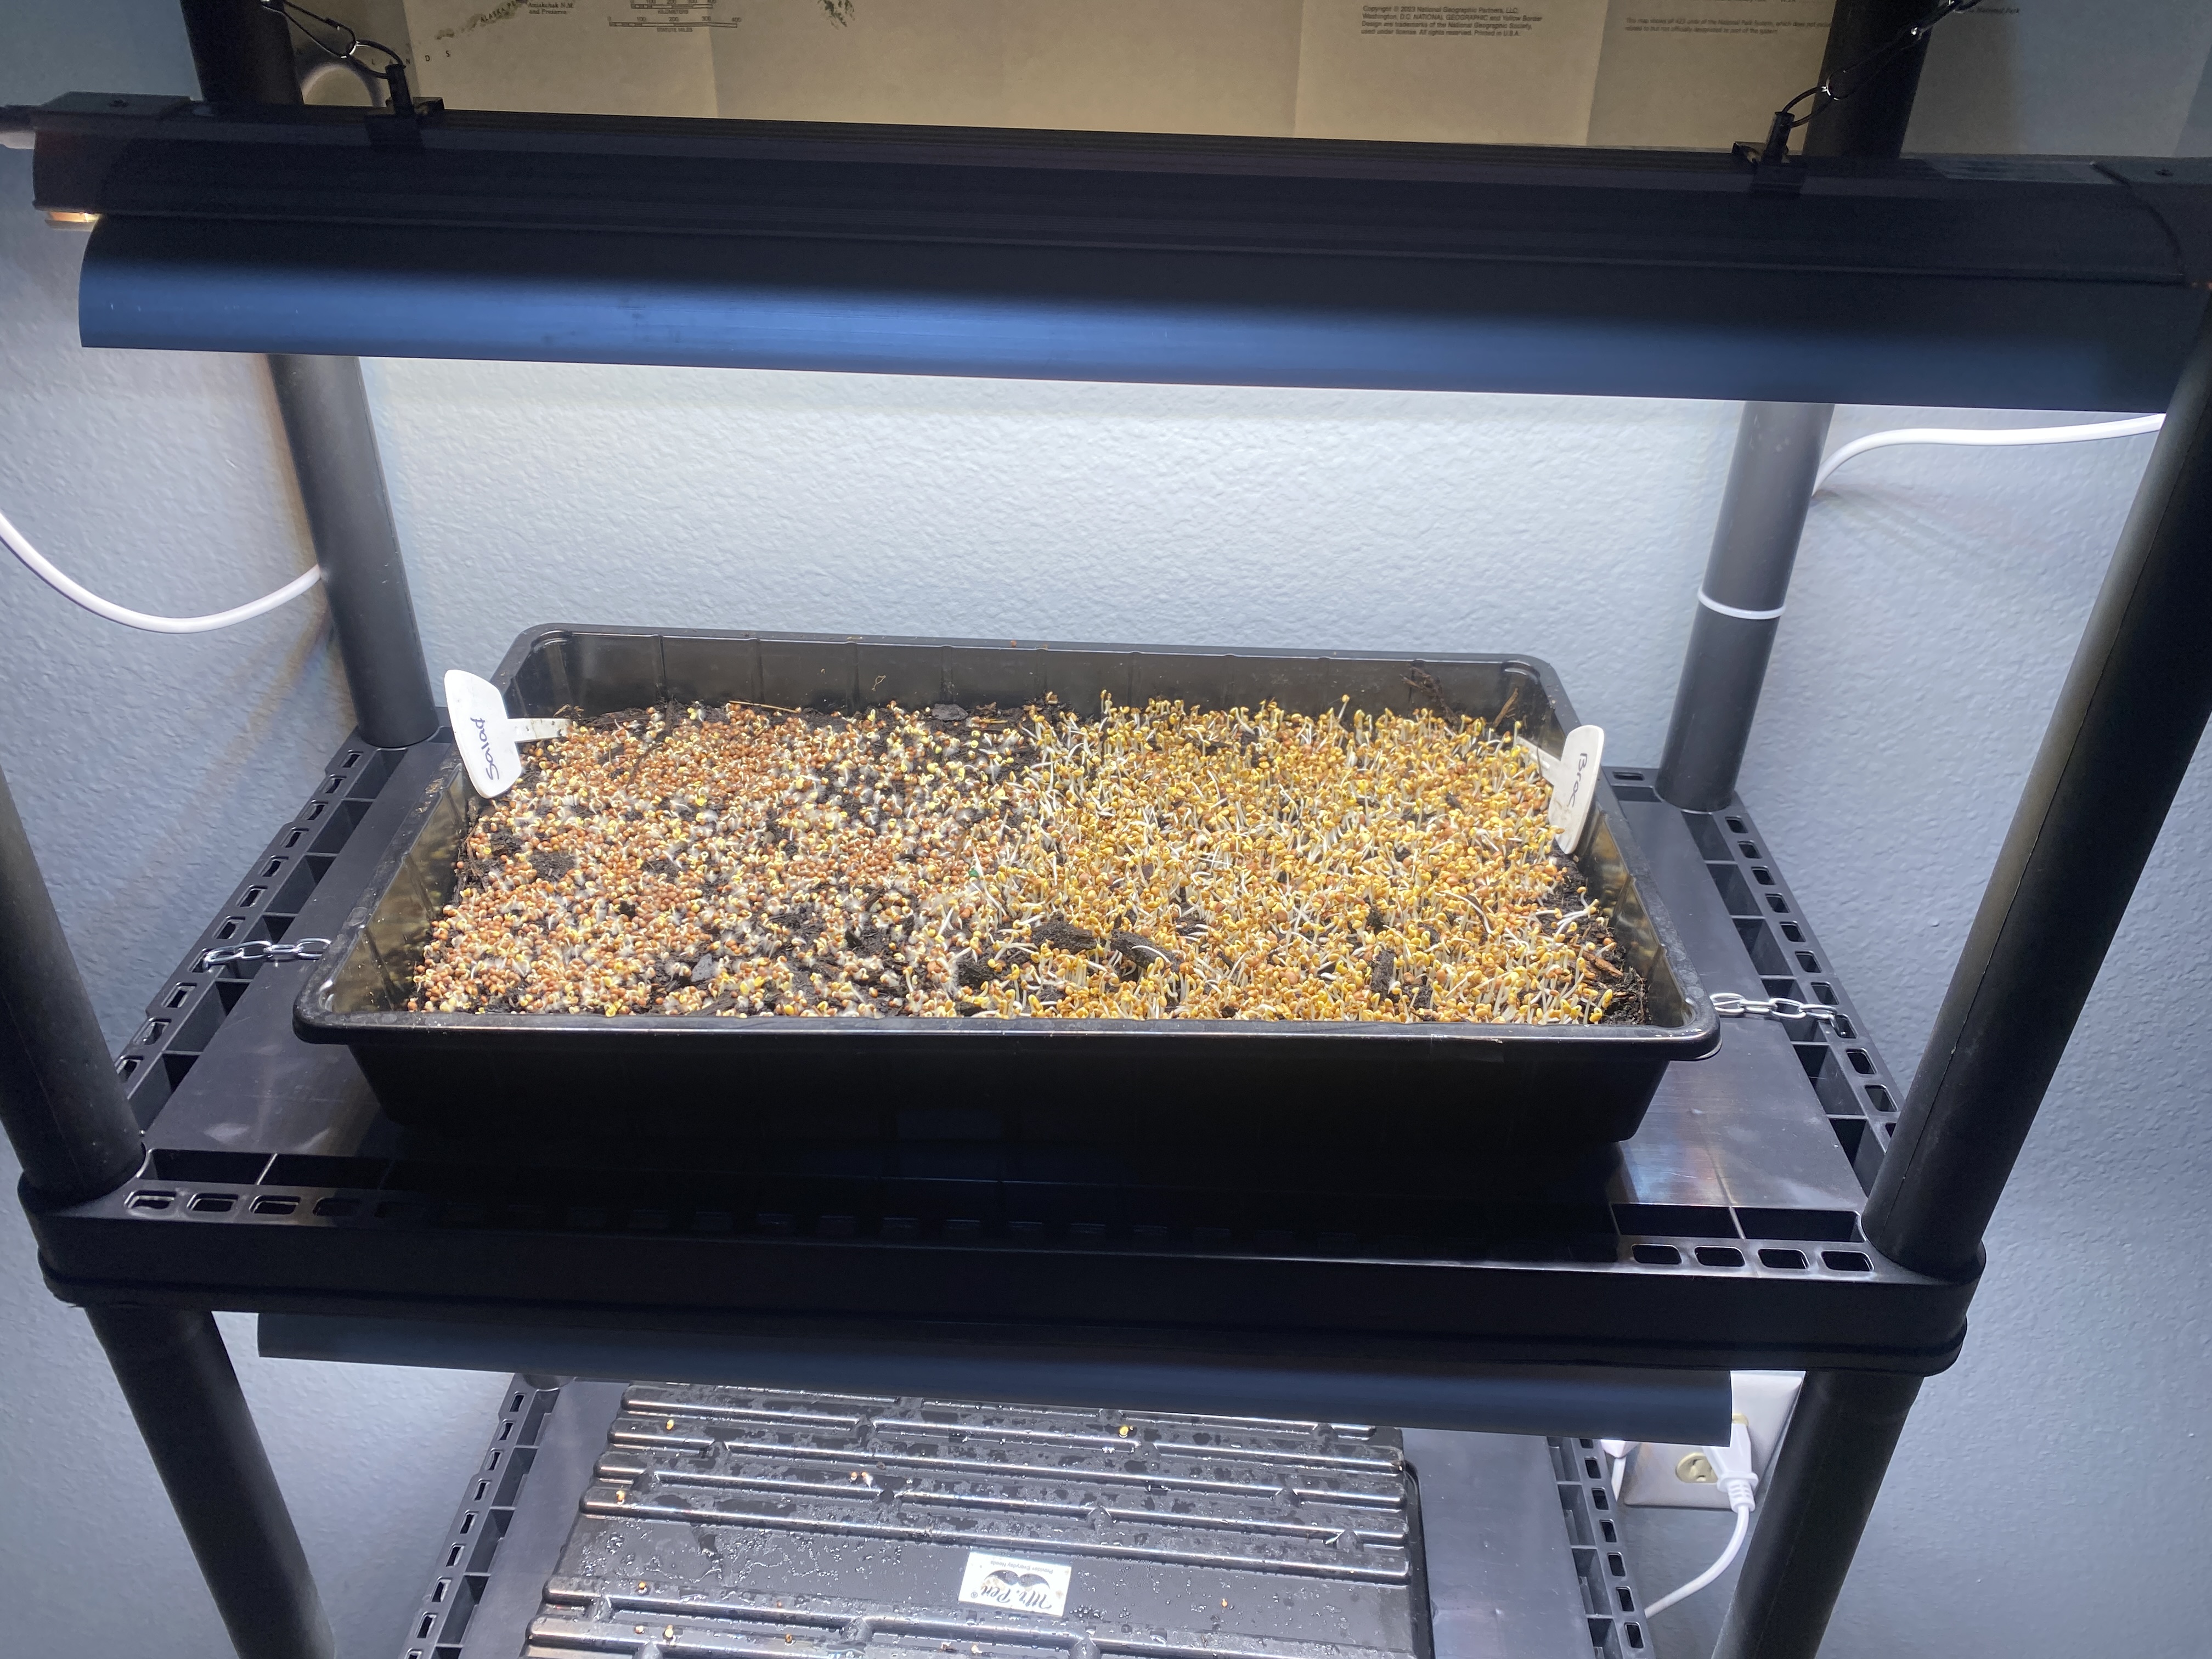
- Step 5: Watch & wait
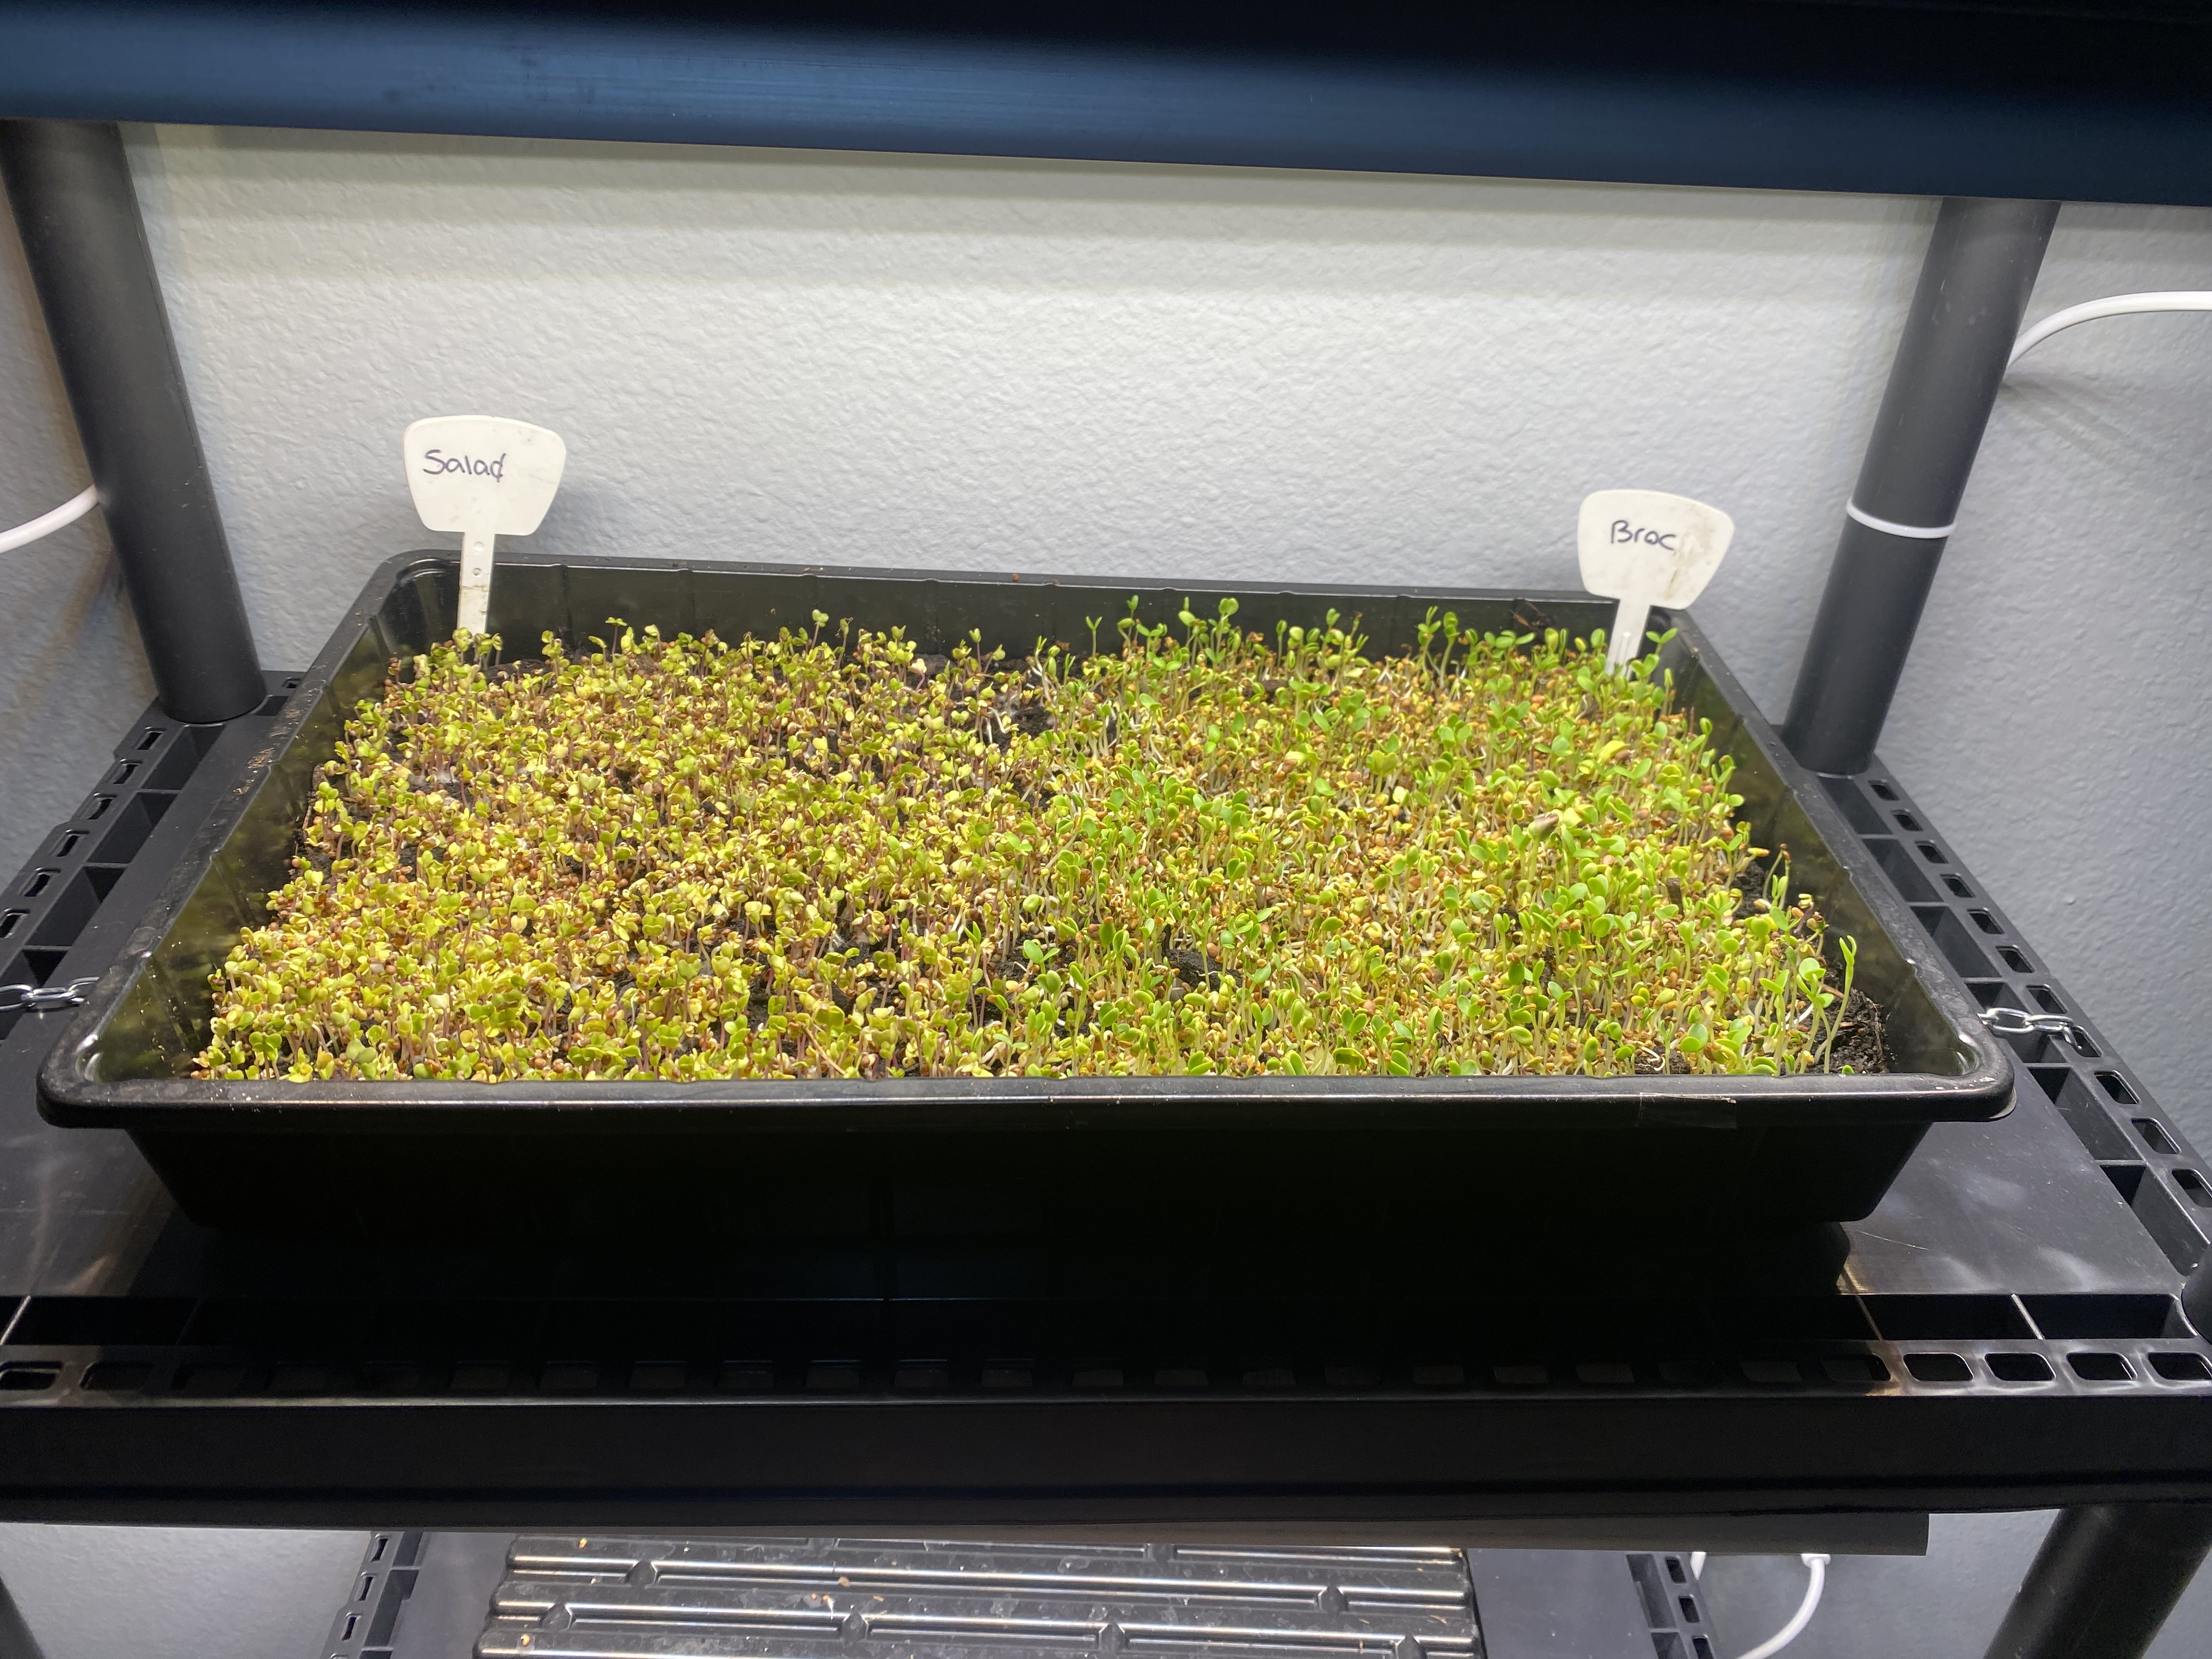
Set in your greenhouse or under a grow light. All of my research shows that natural sunlight will make the stems too thick and “leggy,” so they are less appealing to consume. Honestly, I’ve never put this to the test since I have a small portable (and cheap!) greenhouse and a set of grow lights.
Within a day or two, the seeds will begin to sprout, and you will remove the top tray. Some seeds will stick to the bottom, and that’s perfectly ok. Some seeds take more time than others. I water mine daily with a spray bottle or hose nozzle on the mist setting.
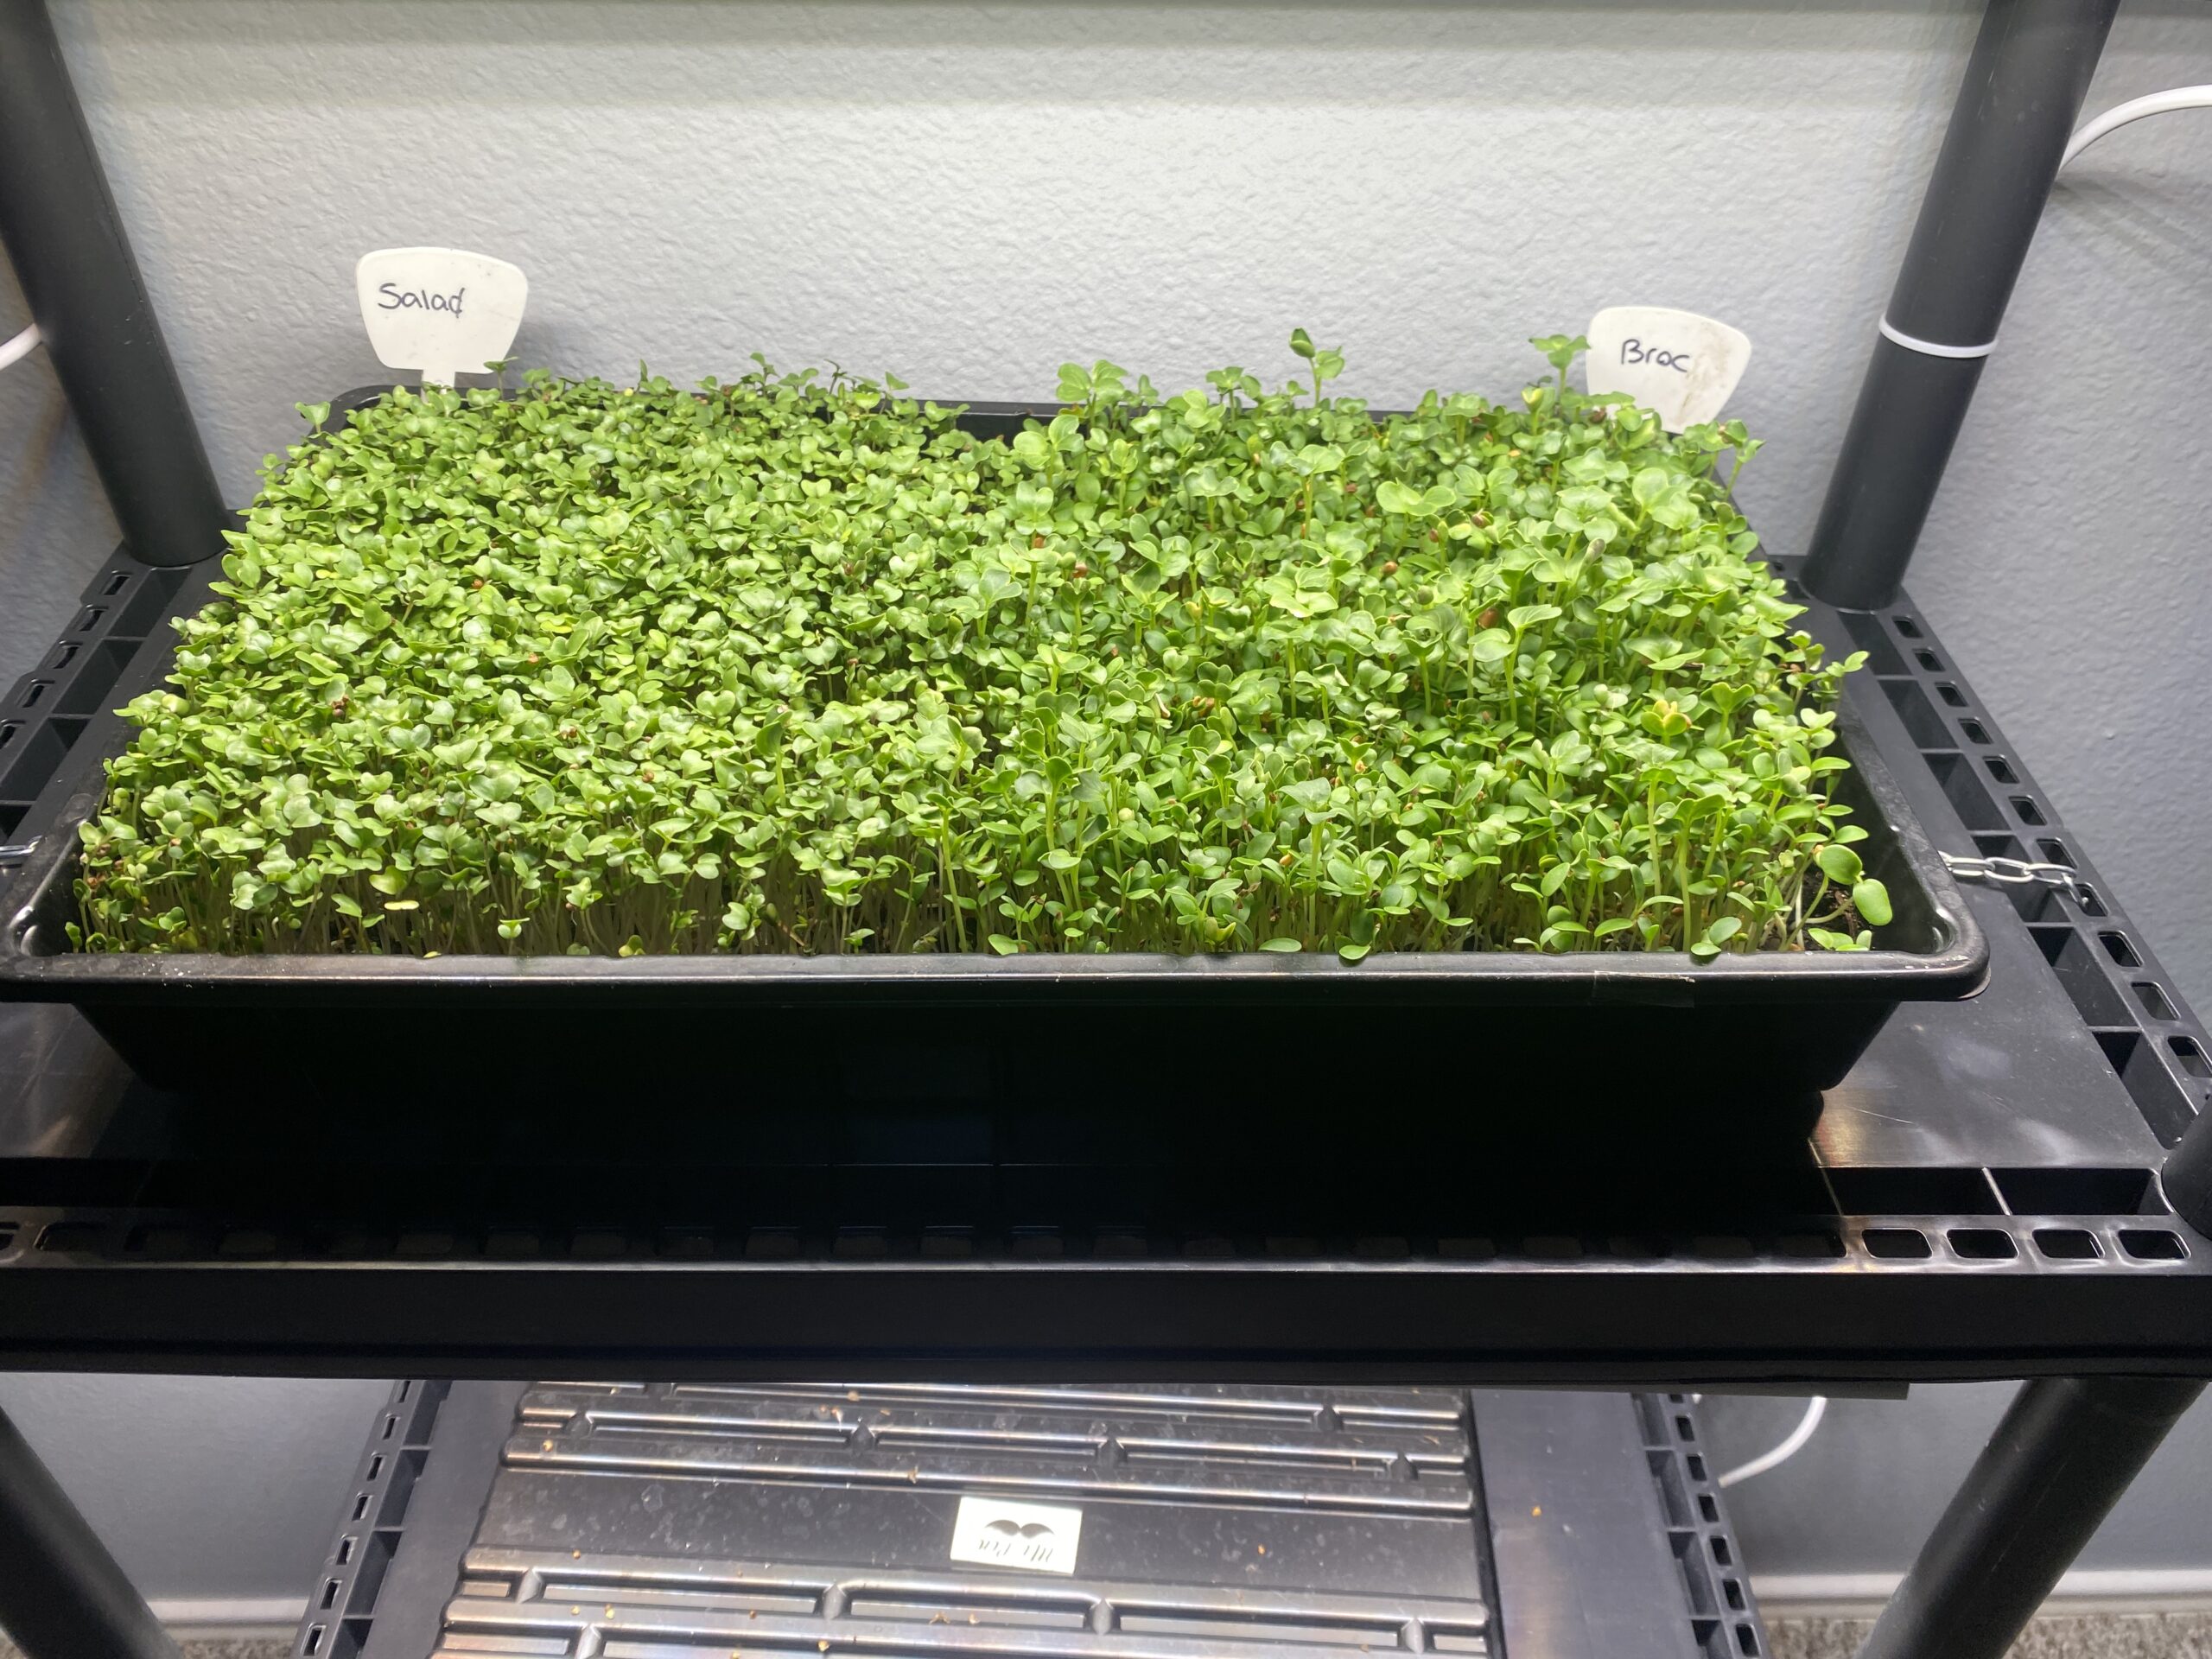
Most micros will be ready to harvest within 4-6 days!
- Step 6: Harvest!
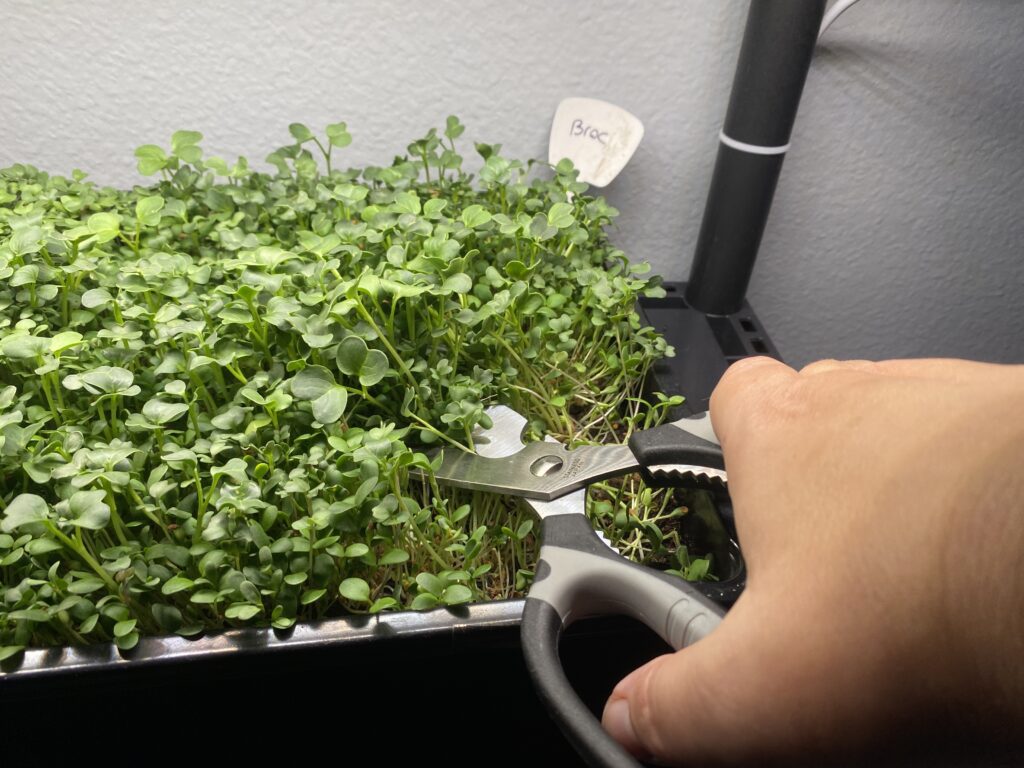
This is where keeping the soil level low will reward you. Simply take a pair of sharp shears, grab a small section, and start cutting. You are going to cut a bit above the soil level so that no dirt comes with the greens.
Some people use a small saw or knife, which is faster but much messier. I prefer to simply cut them with a sharp pair of scissors. You can harvest as little as needed to keep them fresher for longer.
Compost the leftovers!
When you’re done, you should have a sheet of leftover dirt and a mess of roots. Remember, though, those roots are organic compost for other plants! Throw the whole thing onto your compost pile, or break it up and put it into pots or beds. Done! Ah, the circle of life.
Small Steps. Meaningful Rewards.
📤 Share the Knowledge
Know someone who could benefit from this article? Share it and help another gardener grow with confidence.
Gardening is better together. Join our free Facebook community to ask questions, share your progress, and learn alongside other gardeners.
📖 Related Articles
How to Grow Sprouts
Want another easy way to grow fresh food indoors? Sprouts are ready to harvest in just a few days, require no soil, and take up almost no space. They’re a perfect addition to any windowsill or countertop garden.
You Don’t Need a Garden to Preserve Food
Growing food indoors is just one way to become more self-sufficient without a backyard. Discover more simple ways to grow, preserve, and stock your kitchen, even if you don’t have a traditional garden.
🛠️ Related Products
This page contains affiliate links. If you purchase through one of these links, we may earn a small commission at no extra cost to you.
Thank you for helping support Small Scale Homestead!
SeedsNow!
SeedsNow! is a family-owned business offering a wide selection of non-GMO and organic seeds for sprouts, microgreens, and your outdoor garden. It’s another great way to support a small business while growing fresh food at home.
Growing Lights Only
Already have shelving? These grow lights attach directly to existing shelves, making it easy to turn the space you already have into an indoor growing or seed-starting setup.
Growing Trays
Looking for quality trays and supplies for growing microgreens? This small, family-owned business offers durable microgreen trays and other essential growing supplies. Here is a 5-pack perfect for micros!
Lights With Shelves
No shelves? No problem! These freestanding grow lights provide the light your seedlings or indoor plants need without requiring a shelving setup.
Leave a Reply