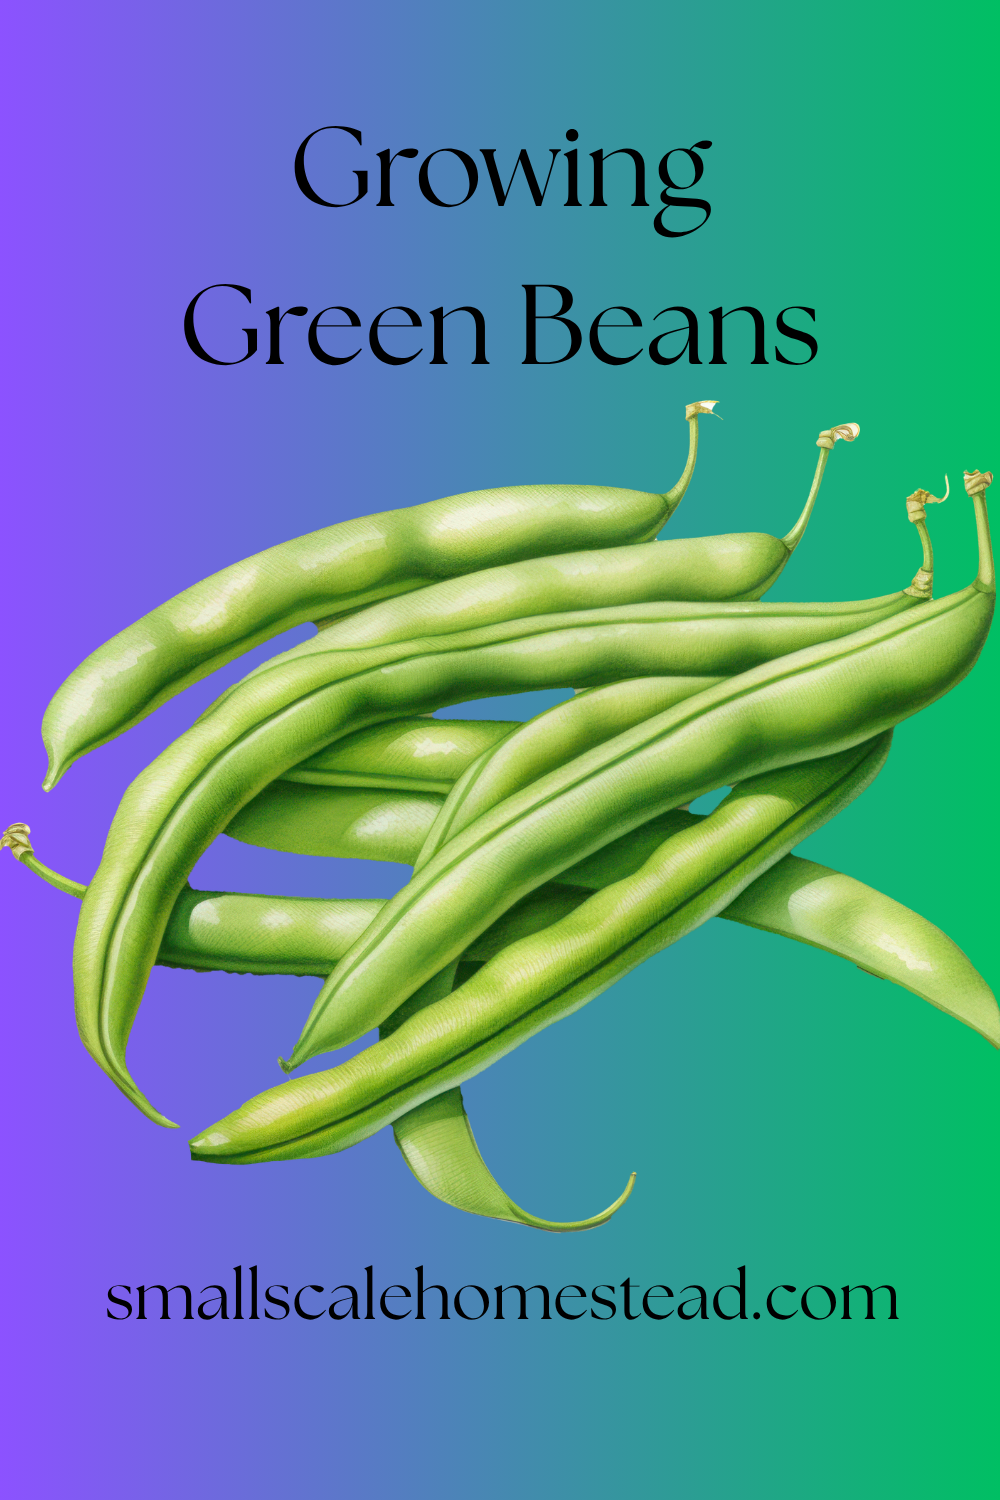
Whether you grow pole beans or bush beans, green beans are basically the overachievers of the garden world. They’re easy to grow, beginner-friendly, and somehow manage to look productive even when the rest of the garden is throwing a mid-season tantrum. Plus, they’re packed with nutrients and can sneak their way into just about any meal — casseroles, stir-fries, soups, or straight off the vine while pretending you’re “just checking the garden.”
One cup of green beans contains about 4 grams of fiber, 2.5 grams of protein, and a full array of vitamins and minerals. That same little cup also delivers about 50% of your recommended daily vitamin K intake. Not bad for something that spends its life dangling from a vine like a tiny green acrobat.

Pole vs. Bush Varieties
Bush beans are the compact, tidy roommates of the bean family. They stay relatively small, mind their business, and produce their crop all at once. This makes them perfect for gardeners who want a big harvest in a short time — especially if canning season is your personal Olympics.
Pole beans, on the other hand, are energetic climbers with absolutely no concept of personal boundaries. They grow on vines and need a trellis, teepee, or other support system to keep them from taking over the neighborhood. Instead of producing all at once, they keep pumping out beans gradually through the season, which is great for fresh eating, freezing, canning, or smugly handing extras to neighbors.
Personally, I love pole beans. They grow beautifully on bamboo teepees and don’t take up much space at ground level, which is perfect for smaller gardens. Throughout the season, I harvest as they grow, then cook, can, or freeze them to build up my stash.
Now, fair warning: pole bean vines can get a little wild. One year, mine tried to invade the sweet potatoes, and another year they made a determined march into the cucumbers. Apparently, they believe every plant deserves a hug. It’s fine. They’re just enthusiastic.
Since I mainly grow pole beans, that’s the variety I’ll focus on for the rest of the article. But don’t worry — bush beans follow the same basic steps, minus the trellis gymnastics.
Pick the Perfect Spot
Pole green beans are basically tiny solar panels with ambition. They love full sun, meaning at least 6–8 hours of sunlight a day.
Choose a spot with:
- Good drainage
- Loose soil
- Plenty of sunshine
- Room for a trellis, fence, or bean teepee that makes your yard look delightfully whimsical
Avoid soggy soil unless you want your beans to file a formal complaint and rot. They’re picky that way.
Build Them a Green Bean Gym
Pole beans climb and climb, and climb a bit more. Without support, they’ll collapse into a tangled heap like sad spaghetti. It would be rather sad.
You can use:
- Bamboo poles
- A trellis
- Cattle panels
- An old fence
- A suspiciously sturdy broom handle arrangement
Aim for something about 6–8 feet tall. These plants do not believe in personal limitations. I make small “teepees” out of 6’ bamboo poles that can be found in many garden centers. You can do 3 -6 poles per group, depending on the space you’re using and your level of ambition.

Plant the Seeds
Once the danger of frost has passed and the soil warms up, plant seeds about:
- 1 inch deep
- 3–4 inches apart
- Plant 2 seeds together. They’ll be more likely to sprout, and you can thin them later and more around
- Plant at the base of the trellis, teepee, or whatever you’ve chosen as a gym.
Water them gently after planting. Just enough to moisten the soil.
In a week or less, little sprouts will appear, looking innocent before they begin their skyward takeover.
You can absolutely start green beans indoors if you live in a zone with a shorter growing season or if you just want to extend your season. You can even start them on bamboo stakes, though this will make transplanting trickier.

Water and Wait (Mostly Wait)
Pole beans are fairly low maintenance, which is gardener code for “they’ll survive my occasional forgetfulness.”
Quick Tips:
- About 1 inch of water per week, but try to be consistent. Every other day watering, etc. I use a soaker hose along the base of the plants. Works great, and you can set a timer on your phone and walk away!
- Mulch around the base to keep moisture in
- Occasional encouragement like, “Look at you go, little bean weirdos.”
- Avoid soaking the leaves late in the evening to avoid fungus, mold, or other yuck.
- If watering isn’t consistent, or you kind of forget about them. They can come back! Don’t give up on them. As long as they aren’t fully brown, restart watering and wait, and wait…….
Watch Them Climb Like Tiny Acrobats
Once they get going, pole beans grow FAST. One day they’re ankle-high, and the next they’re trying to make contact with satellites.
You may need to gently guide young green bean vines onto the trellis at first. After that, they’ll figure it out and begin spiraling upward with unsettling determination. It’s actually startling how quickly they grow and how big they’ll get before they’re done.
Once they reach the end of your trellis, they can get all bunched up into a small bush at the top. You can train them back over and through or snip at the end to stop the madness. Personal choice. I try to let them grow as long as possible because green beans are the most frequently eaten veggies in our home.
Harvest Before the Beans Get Weird
Pick beans when they’re long, firm, and still tender — usually around 4–7 inches depending on the variety. So read up a bit on your chosen pal.
Size does matter!! If you leave them too long:
- They get stringy
- Tough
- Full of giant seeds
- Emotionally distant
The more you harvest, the more the plant produces. It’s basically a bean vending machine powered by attention. They like to hide, so once you think you’ve gotten them all….look again.

Ways to Store & Preserve Green Beans
1. Canning
Preserve green beans in jars using pressure canning for long-term storage in the pantry. Great for soups, casseroles, and “I forgot to grocery shop” emergencies.
2. Freezing
Blanch beans briefly, cool them in ice water, then freeze. One of the easiest methods for keeping that fresh garden taste for months. I try not to freeze too many, simply ’cause one bad storm with a power outage can strip you of all your stores. Sadness.
3. Dry / Dehydrate
Remove moisture from beans using a dehydrator or a low oven. Dried beans take up little space and can be rehydrated later for cooking.
4. Freeze Dry
Freeze-drying removes moisture while preserving flavor, color, and nutrients remarkably intact. Excellent for ultra-long storage and lightweight food storage. I’m not quite cool enough to own a freeze-dryer, but I would use it like crazy! Freeze-drying is the absolute best way to store things for long-term storage and is great for backpacking trips!
5. Pickling
Turn green beans into tangy, crunchy pickles with vinegar, salt, and spices. Bonus: they make a surprisingly addictive snack straight from the jar.
Final Thoughts
Pole green beans are productive, easy to grow, and weirdly satisfying. Plus, there’s something magical about walking into the garden and discovering beans dangling everywhere like nature’s snack aisle.
Plant them once, and next thing you know, you’ll be forcing extra beans onto neighbors and casually saying things like, “Oh THESE? Just from the garden.” While doing a cute little hair flip.
Until Next Time!
Did you find this interesting or helpful? Share with your friends!
Leave a Reply