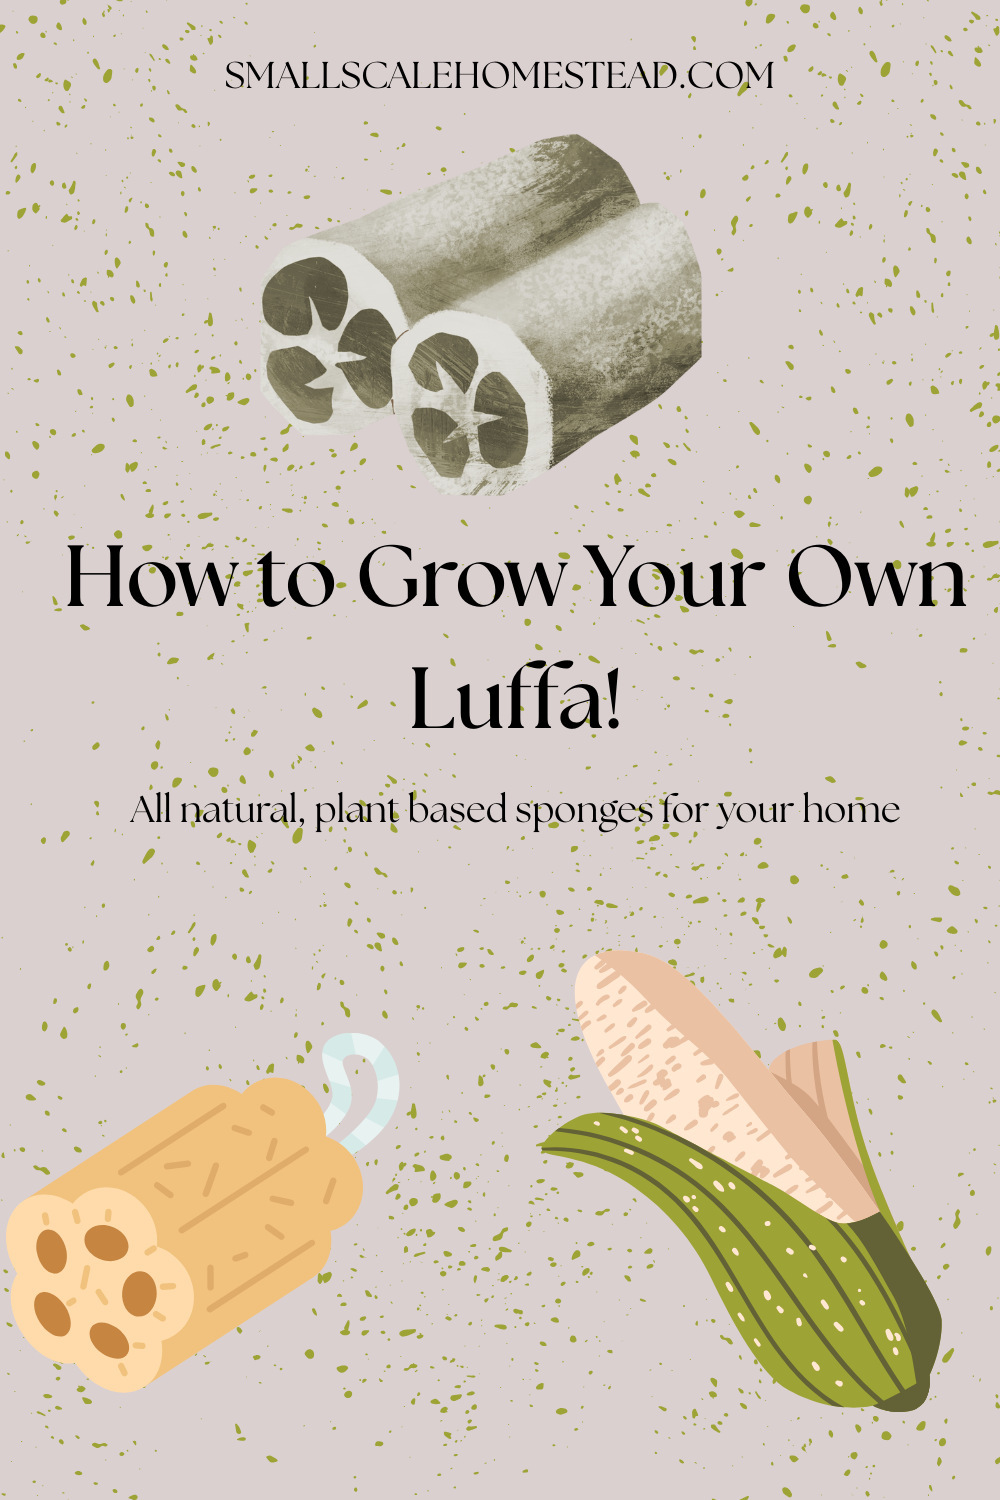
All-natural, plant-based sponges for your home


Yes. You can grow your own sponges! No. These are not the ocean-based invertebrates. We are not killing SpongeBob! That would be rude. These guys are a large, vine-like plant that grows long fruits and are technically in the gourd family. However, when they’re growing, especially when they’re still small, they resemble a cucumber.
The plant is beautiful, but starting the seeds and managing the massive growth rate it can achieve can be a bit of a challenge. I’m going to give you step-by-step instructions on how to grow them yourself, as well as touch on some of the issues I’ve seen mentioned online over the years, if you are growing in a cooler zone than some.

What you need:
Seeds
Obviously….
Do. Not. Buy—a lot. Once you grow luffa, you will have so many seeds that you, your friends, family, and grandkids will have enough seeds. Lol. Seriously though. I will sometimes buy two or even three packs of seeds if it is a new plant and I’m learning. No need. 2 successful plants will provide more than enough seeds for years to come!
Heavy Duty Trellis
These things get huge and so heavy. I bought the biggest trellis I could find for under $100 and basically killed it. With only two plants, the weight broke it at every joint, and the whole thing came down.
Plan to have either a heavy-duty trellis or the willpower to cut it back and keep it from getting too large. I… don’t have this, and I paid for it. In my first year growing luffa, I couldn’t bring myself to trim it back and prevent growth, and boom, dead trellis.
Next time, I plan to build something or reinforce it with wood beams.
Seed Starting:
Growing luffa from seed is mostly the same as anything else. Just a couple of extra steps before you plant them. These are the first seeds I have ever had to “scarify”. I saw multiple examples of people doing this in different ways and chose the quickest route. Time is precious!
- Grabs some nail clippers and “snip the tip”…of the seeds. The seed bestie. Below the black shell is the inner, white portion. You want to access this, but not snip it.
- Soak overnight or up to 24 hours in water before planting. This will help soften the remaining outer shell and help the little guy sprout faster and more efficiently.
- Start seeds in small pots at a depth rough1/2” deep. These guys need a LONG grow seed and start very slow. You need to plant 4-6 weeks before the last frost. If you are in a colder zone, I’d stay much closer to the 6-week mark, since your season is shorter than someone’s in zone 8 or 9. If, like me, you live in a warmer zone, then four weeks will be fine!
- Leave indoors and try to keep the soil at least 70 degrees. If this is not an option, consider getting a heating mat to help keep the little guys warm.
- Water often. These babies are thirsty! Use a seed tray with a lid if possible.
Check out this heating pad on Amazon (not an affiliate link)


*These guys start slow. They didn’t sprout until after the 2-week mark, when I was about to give up on them. Just tell them they’re pretty, and they will eventually do their thing.
*I planted four seeds, three grew, so they have a decent success rate if you scarify and soak them
Transplanting:
Once the chance of frost is passed, transplant outside. I put mine in one of the lower areas in the yard because again, these guys are thirsty. As they get bigger, they will require more and more water. If you don’t have a lower spot like that, mulch well to help retain the moisture.
I thought I would keep mine small, so I started with only a piece of lattice. Oh, the lies we gardeners tell ourselves!
Organic soil and such is not necessary, but since I use mine on my face and to clean my kitchen, I went 100% organic soil, compost, etc. However, you do you. They’re super fun either way!
*2 only planted two lil babies and am so glad. They get HUGE.
Dealing with Vine. Everywhere:
Once your luffa starts growing, it’s going to go crazy very quickly. One day it’ll be foot tall, next thing you know, it’s out of control! While you love her, she’s fun. She’s definitely not a “set it and forget it” kinda plant.
It requires attention several times a week. This involves winding vines where you want them, keeping them out of areas you don’t, and breaking off new growth once you’re at your limit.


I had vines growing through the fence into the neighbor’s tree, trying to get into my “she shed”. It was crazy towns.
The bigger it gets, the more you have to tend it. I found myself cutting new growth once my trellis died. Just snipping the ends to keep it at bay. Still, she grew. I finally cut mine at the base to stop it from growing, since the broken trellis was making everything miserable.
On the plus side, seeing this plant with all the big leaves and pretty yellow flowers in the yard every day makes me so happy! It’s just gorgeous!! Plus, seeing something grow that big from seeds you started really helps your pride when something else in the garden may not have gone as planned.

When to Harvest:
Luffa goes from looking like a bit of cucumber to a giant zucchini. You can eat them when they are still small, and apparently, they taste like an odd cross between a cucumber and a kiwi. I admit, I haven’t tried them. I grow them for the sponge portion, and eating that doesn’t sit right in my pea brain.
Once they reach full size, they will slowly start to dry out. Once they are completely brown, you can harvest. If you’re not sure they’re ready, squeeze them in the center. They should be very crispy and crackly.


*See the bottom for videos to show you the way they should sound.
You can always harvest and lay them in the sun for a few hours, or leave them out all day if you want to ensure they are completely dry.
How to Clean & Peel:
Once they are completely dried, you can easily snap off the end where the stem is. Now the seeds can be poured out. You may have to tap it on a table or counter to loosen everything up as you go.

*Be careful not to slam it or do too much before you break off the end. Seeds will go legitimately everywhere. Trust me. Learn from my goofy.
Once you think you have all the seeds out, you may not, and that’s fine. Soak them in water for 1 to 2 minutes. This will make the outer skin more pliable. You can tear a small slit near the end where the stem was, then run your finger down the luff, and it will split completely and super easily.


Now you can pull the skin back and peel it off in one big piece!
So, just a warning: they smell weird. Kind of plant…ish, kinda just odd. I’m not a fan. I run hot water in my sink with dish soap and let them soak for a while. No real time frame on this, though. Drain the water, rinse the soap off, and lay out to dry again.
Done!!
Luffa!! Now What?
From cleaning to projects! Here are a few things a luffa can be used for. Remember, this is an all-natural sponge so that you can replace them around the house!
Cleaning
I use these to clean my sink, stovetop, and counters. It generates less plastic waste and chemicals since I was previously using SOS-style scrubbers on the stovetop.
You can cut down the length with scissors, cut out the spine, and make a cleaning rag out of them! Wet the luffa first; it makes cutting easier and less messy.


Showering
These are rough, so use them on your skin with caution, depending on your skin’s sensitivity. They can be used in place of exfoliating sponges and rags for your face, legs, and other areas. You can use a luffa rag for this, too.
Great natural alternative!
Soap making and project
I want to be honest and say this is not me. I’m not a crafty person and have no creativity when it comes to projects. However, loads of people are using a luffa for projects. You can cut them up and make flat pockets to add a bar of soap, you can even add twine to make it closable.
You can also cut the luffa into sections, add them to molds, and pour homemade soap right on top! These are great for gifts or even selling online. Check out Wild Backyard Soaps. This lady makes and sells soap and has a whole YouTube channel showing you how to make it. I’ve also linked a video directly to the one on using loofahs in the project.
Until Next Time!
PJtxGirl
Did you find this helpful? Share with your friends!
Leave a Reply